Ah, $1.4 million. It’s a lot of money isn’t it? What could such a large sum of money buy you? Well you could go for-
- A McLaren P1 Supercar
- A Luxury home
- A Luxury Yacht
- An Expensive handbag
- An app that randomly shows an arrow pointing left or right…


Ah, $1.4 million. It’s a lot of money isn’t it? What could such a large sum of money buy you? Well you could go for-
Do you like Apple software?
How about Apple providing a once paid for service for free?
“Free” and “Apple” do not usually go hand-in-hand, but with the release of Xcode 7, things have certainly changed.
read moreDo you remember the One with the Thumb? Or the One with the Dozen Lasagnas? Where would we be without the TV show Friends?
Friends was the staple TV diet of millions of fans for 10 years and many were grieved to see its final episode on May 6th in 2004. However, Friends is still a huge household name and continues to have a massive fan base worldwide.
read more
There are many comparisons out there that try to explain what programming is. These range from building things with Lego to bringing up a child, but there is one that I like to use and it’s:
Programming is Like Baking Cakes!
Let me explain…
read moreBeing able to implement a web browser instance in your LiveCode app is nothing new, but the way it can now be implemented is.
Previously, you were dependent on the machine that your app was running on having a compatible web browser installed. LiveCode then hooked into these browsers which then created an instance within your app using Internet Explorer on Windows and Safari on Mac. This could lead to inconsistencies across the platforms.
Note: Mobile have their own native browser implementations so we won’t be dealing with them in this article.
No longer are these dependencies required, and it’s possible to create a standalone app with a browser instance that will run on any platform (Linux coming soon). But how is this possible?
As of LiveCode 6.7, our dev guys implemented the Chromium Embedded Framework which is used for embedding chromium based browsers within an application. More information on this can be found here.
Now, you may be asking.. “What are the benefits of a browser in my app Is it not just for viewing webpages?”..So with that in mind, hopefully the following short list will give you some ideas of what is possible with the CEF browser
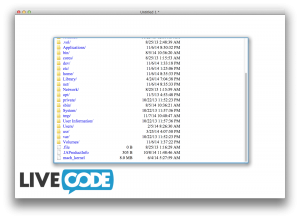
Very Simple File Manager
Looking for an easy way to browse files on your computer? Then look no further! Creating a CEF browser and then setting its URL to the following results in quite a nifty little file browser. nb: When I say simple, I mean simple. This method only allows you to open basic text files and view images.
revBrowserSet *browser Instance id here*, "url", ("file://")
HTML 5 based webpages.
HTML 5 is the way forward in regards to web technology so much so we will soon be allowing our users to deploy straight to HTML 5.
The CEF browser has fantastic HTML5 support and ranks high in the http://html5test.com/ system. So integrating content rich web based media within your LiveCode app is simple. The following is running an interactive 3D simulation in a LiveCode stack:
revBrowserSet *browser Instance id here*, "url", ("http://www.kevs3d.co.uk/dev/shaders/polyhedra2.html")

Remote PDF Viewer
Previously, you had to have plugins installed for a browser instance to open and display a PDF. This is no longer the case. With the new CEF browser, you can view PDFs from a remote source as long as the web page is formatted correctly. In this example I am using Google’s Embedded PDF viewer.
More information on how to create such a viewer can be found here.
I then simply set the URL of the browser instance to the URL provided by this Google service:
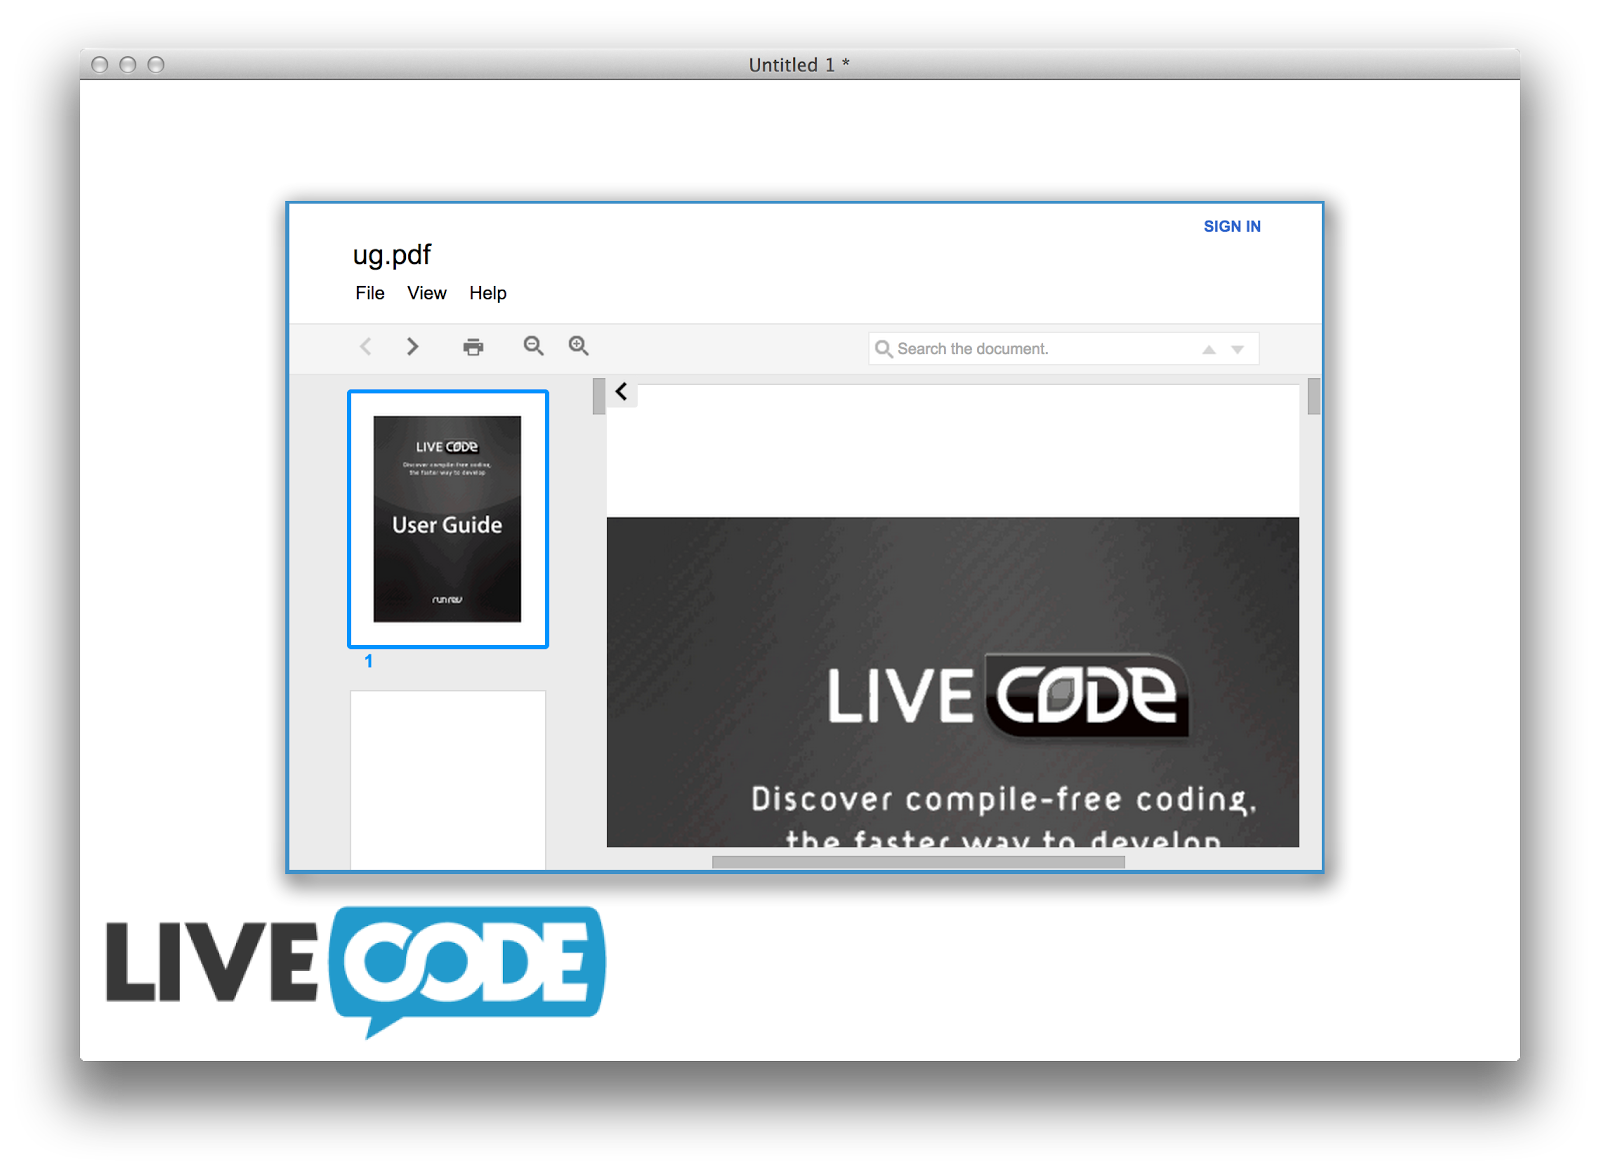
In-built Video support
Unlike the previous non-CEF browser, we no longer need a media player such as Quicktime installed in order to play many of the media types available to us. As long as the video/audio is in the appropriate tags within a web page, the content should play.
<video width=”320″ height=”240″ controls>
<source src=”movie.mp4″ type=”video/mp4″>
<source src=”movie.ogg” type=”video/ogg”>
Your browser does not support the video tag.
</video>
(http://www.w3schools.com/html/html5_video.asp)
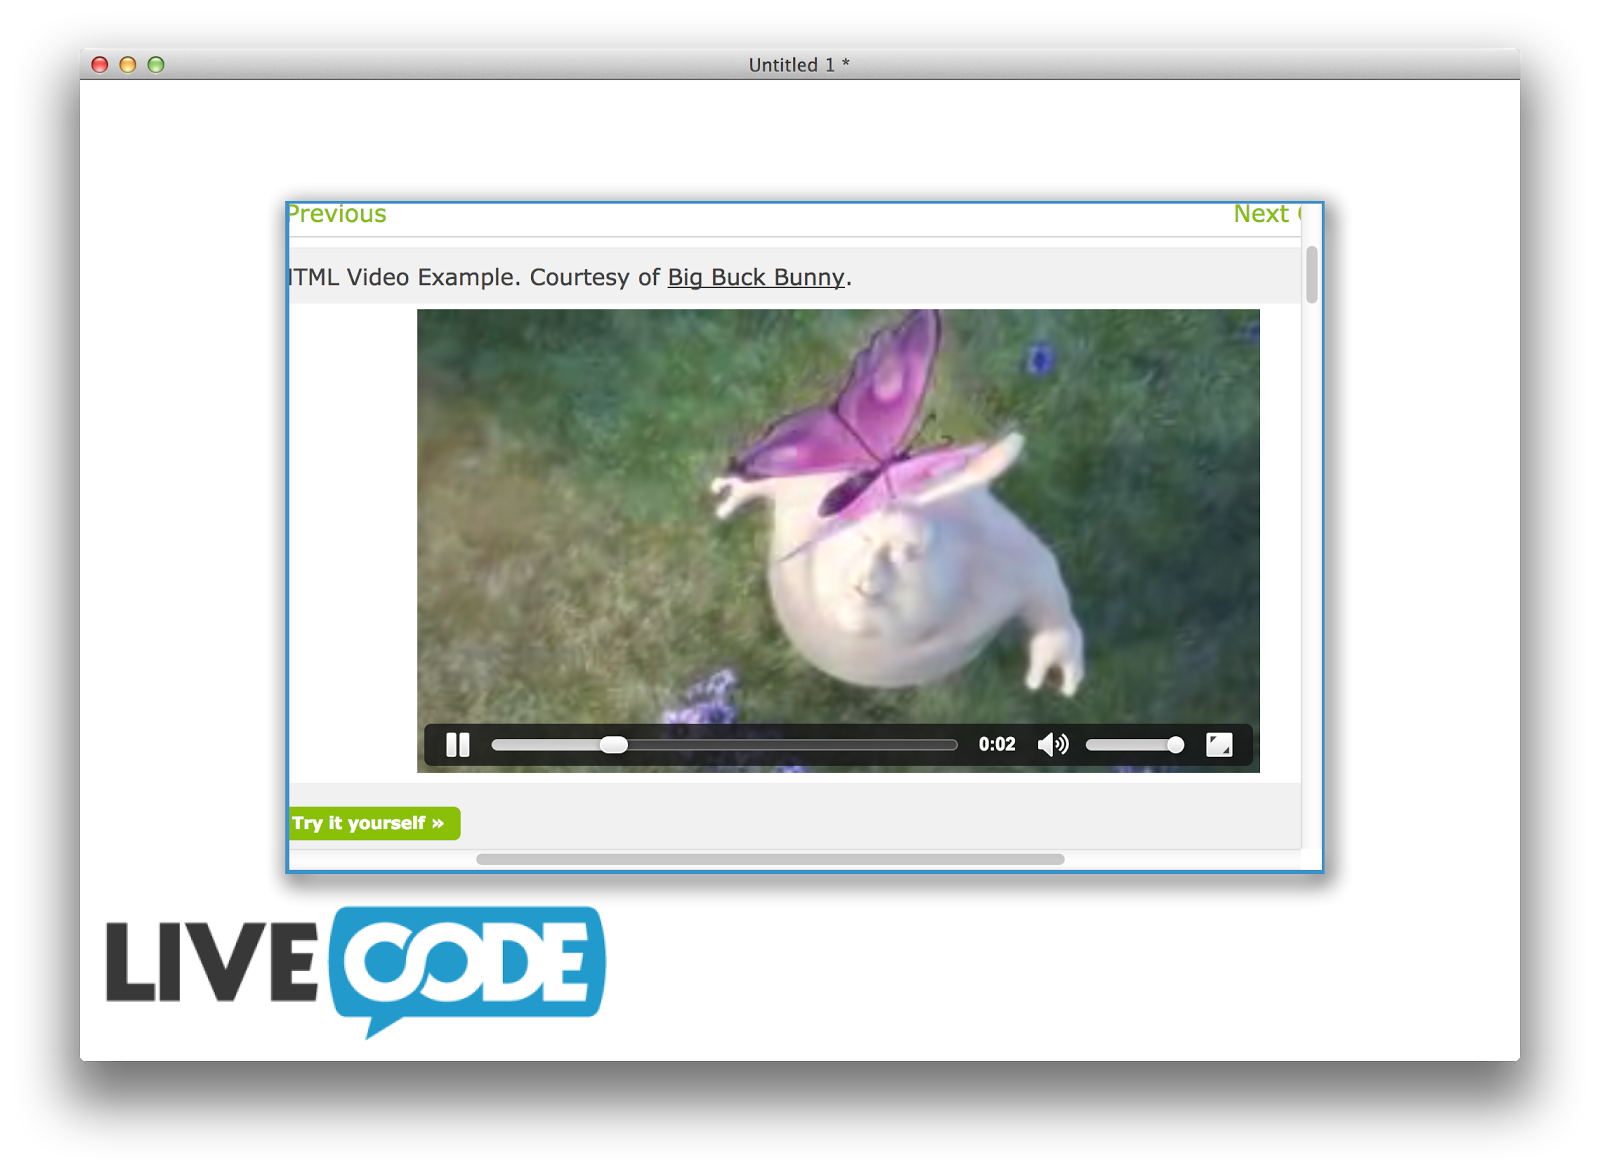
In-built audio support
This is just like above but instead of video, we are dealing with audio
<audio controls>
<source src=”horse.ogg” type=”audio/ogg”>
<source src=”horse.mp3″ type=”audio/mpeg”>
Your browser does not support the audio element.
</audio>
Better all-round net compatibility
Being a more up-to-date browser implementation means that it will be compatible with all web pages that are thrown at it. Previously, on Windows, the older browser instances would throw Javascript errors when visiting a page that was not fully Javascript optimised. These errors were obtrusive and required users clicking an OK dialog to dismiss them. This is no longer the case as the CEF browser handles these types of pages flawlessly.
An example of such an error, which should now be resolved with CEF can be found in the following forum post:
http://forums.livecode.com/viewtopic.php?f=9&t=19299
Javascript communication
Previously it was possibly to execute Javascript within a browser instance directly in your app, now it is also possible execute script within your app via Javascript which is executed in the browser. This opens up a whole world of interactivity between your app and any web pages you are viewing. The best way to show this is to take an excerpt of Ben’s Summer School 2 session and make it available for you to watch:
Now that you know some of the neat things you can do with a browser object its over to you to take things further! If you do decide to use a CEF browser in your next project, please let us know as we are always interested to see what our users are doing with LiveCode.
read moreAh, the good ol’ Android Emulator….Many a support request has come in regarding this, mainly to complain of how dog slow it can be especially in comparison to the iOS simulator.
The main reason for the speed difference between both is that the Android “Emulator” is physically emulating the software and hardware of actual devices whereas the iOS “simulator” is only simulating the iOS operating system and has full access to all of the system resources (e.g. CPU, GPU etc)
With the above in mind, an Android Emulator is good if you’re starting with Android development or if you are in a pinch but ideally testing your application on a physical device gives you the best experience and doesn’t leave you wanting to pull your hair out.
With that being said, there is an alternative “Emulator” that I have used in the past and it has also recently been brought to our attention via support (Thanks Fulvio), which provides far superior performance compared to Google’s “out of the box” Emulator.
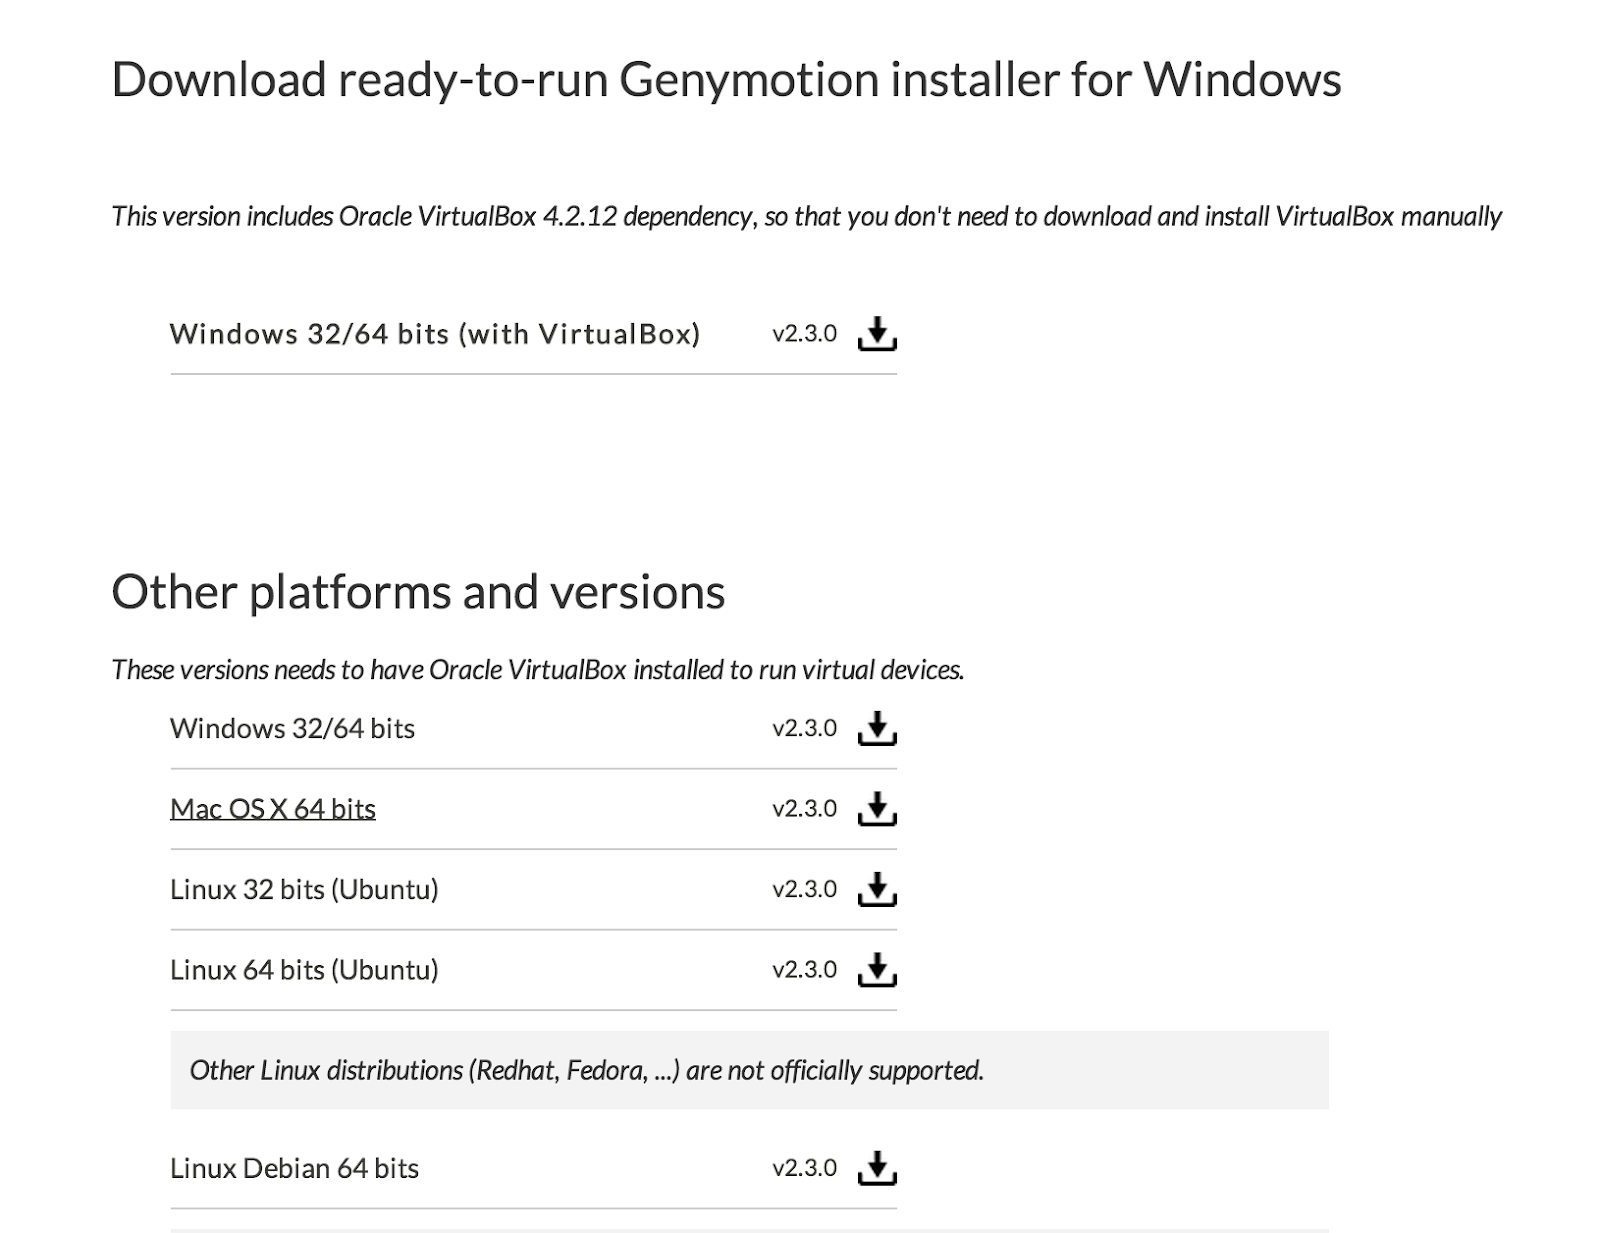
The software in question is Genymotion and is available to download from:
There are many versions available, but the Free version should provided you with everything you need to get testing your apps at super speed!
Now, its not a simple case of installing Genymotion and off you go, there are few things required in order to make this emulator work with a LiveCode built Android App. In order to save you from throwing your computer off the wall, I will now go through the GenyMotion setup step-by-step 🙂
Here we go:
The first thing you will want to do is download Genymotion and install it on your system.
Genymotion runs an emulator within a Virtual machine with Virtualbox being the software that it uses for this purpose. So, the next thing to do is head over to https://www.virtualbox.org/ then download and install the latest release of Virtualbox.
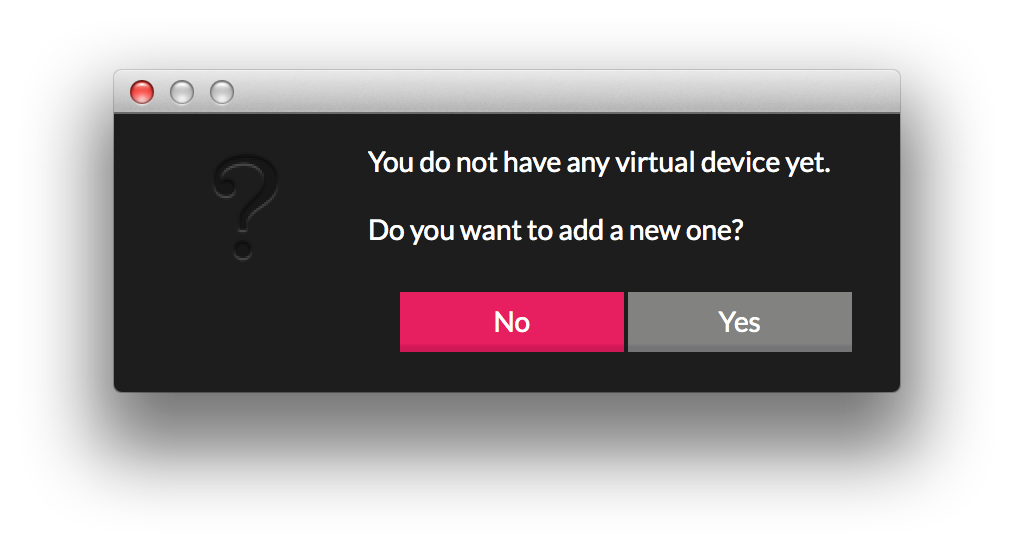
We are now at a stage where we can run the Genymotion executable, so let’s do this.
Once launched, it will present you with the following screen. Select “yes”:
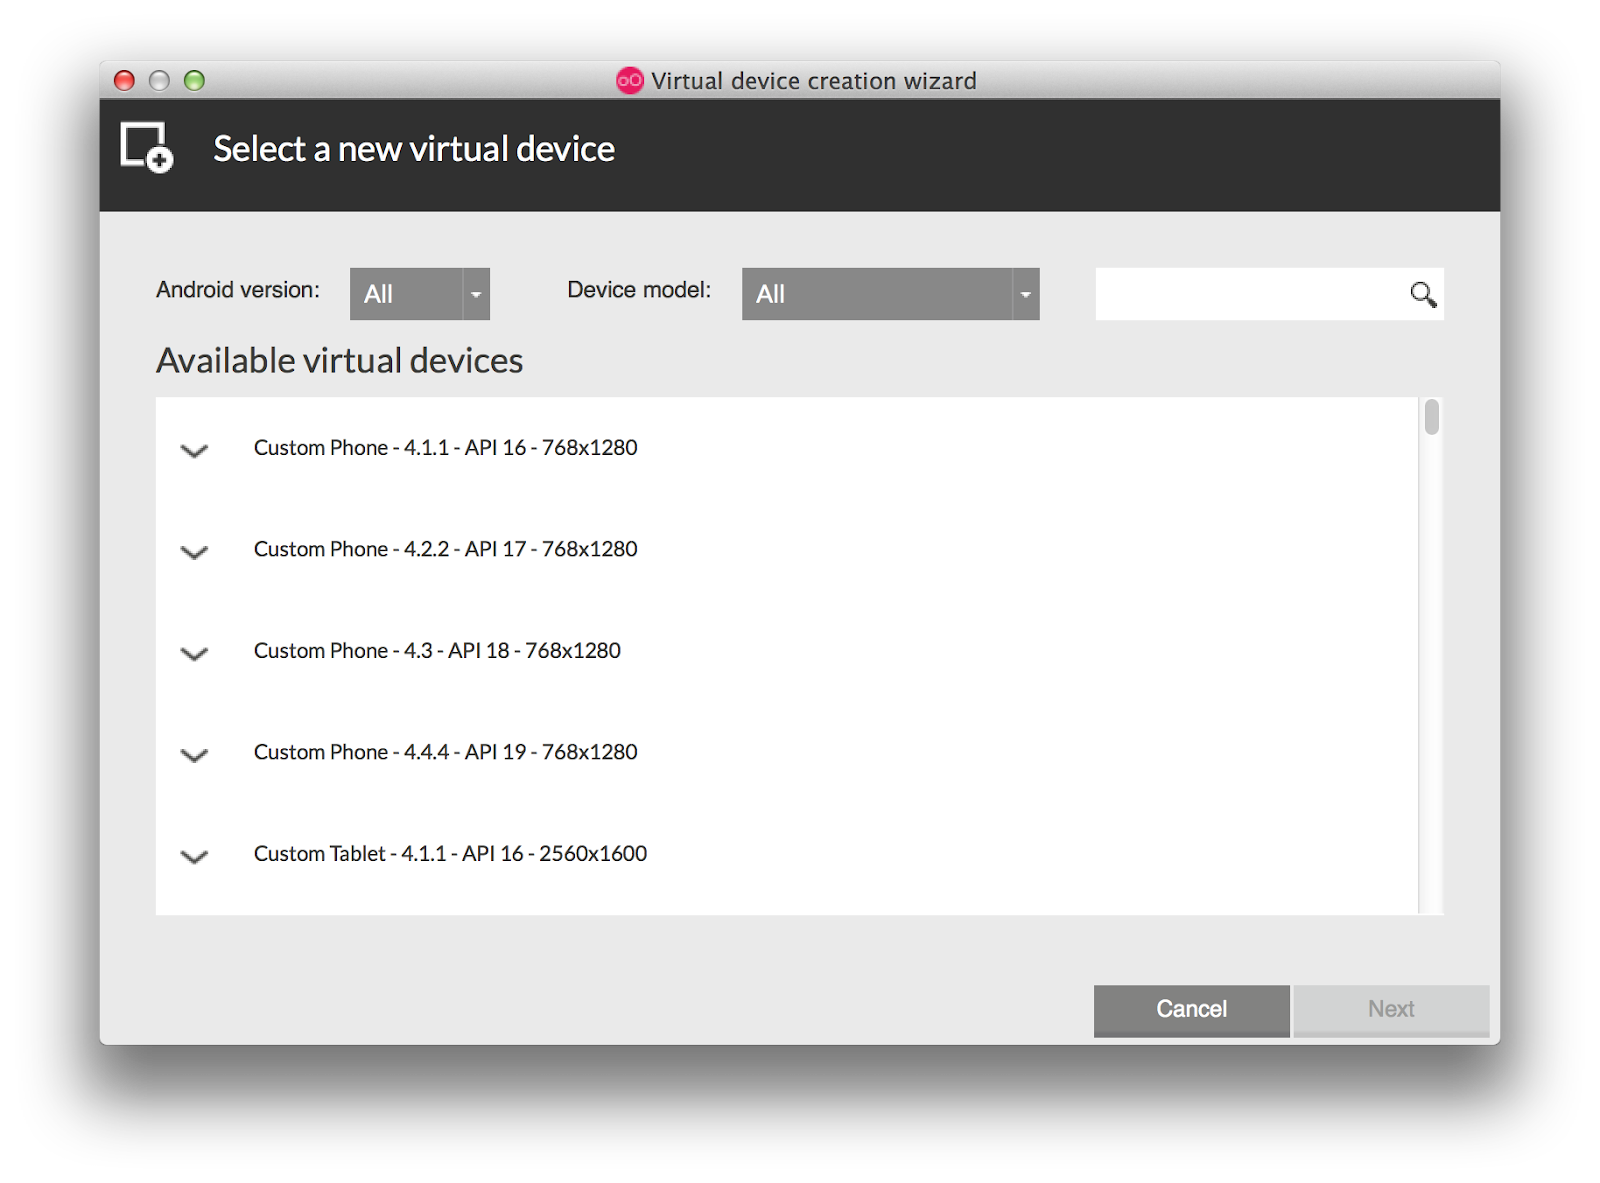
You will now be presented with the “Virtual Device Creation Wizard”. In order to create a new device, you will need to sign in with your Genymotion account. After you have signed-in, you will be presented with a list of emulator copies of all of the latest Android Devices.
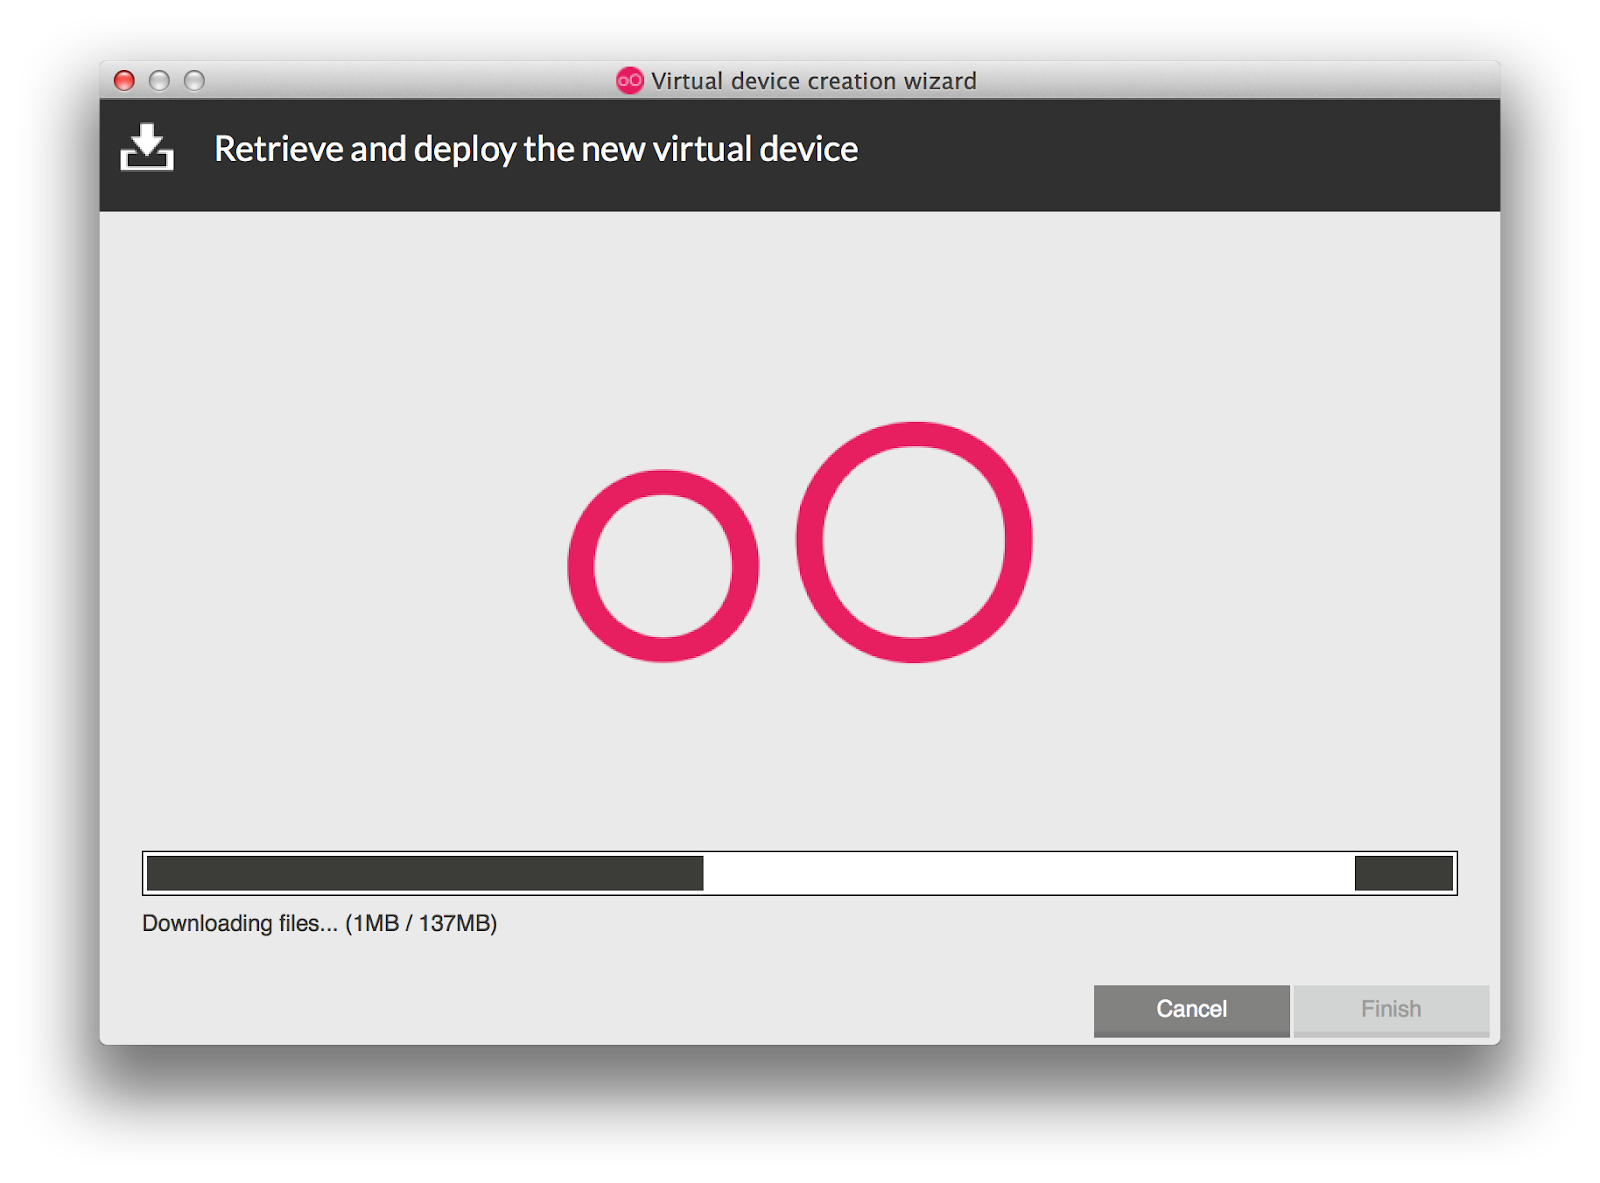
For simplicity, I am going to create an emulator using the first option of “Custom Phone- 4.4.1-API 16 768 x 1280”. So I select this, and press “Next”. This then allows me to name my emulator, I leave the name as its default value and press “next” again. This will then proceed to download this emulator for use:
If all goes as expected, a “The virtual device has been successfully created” message screen will appear:
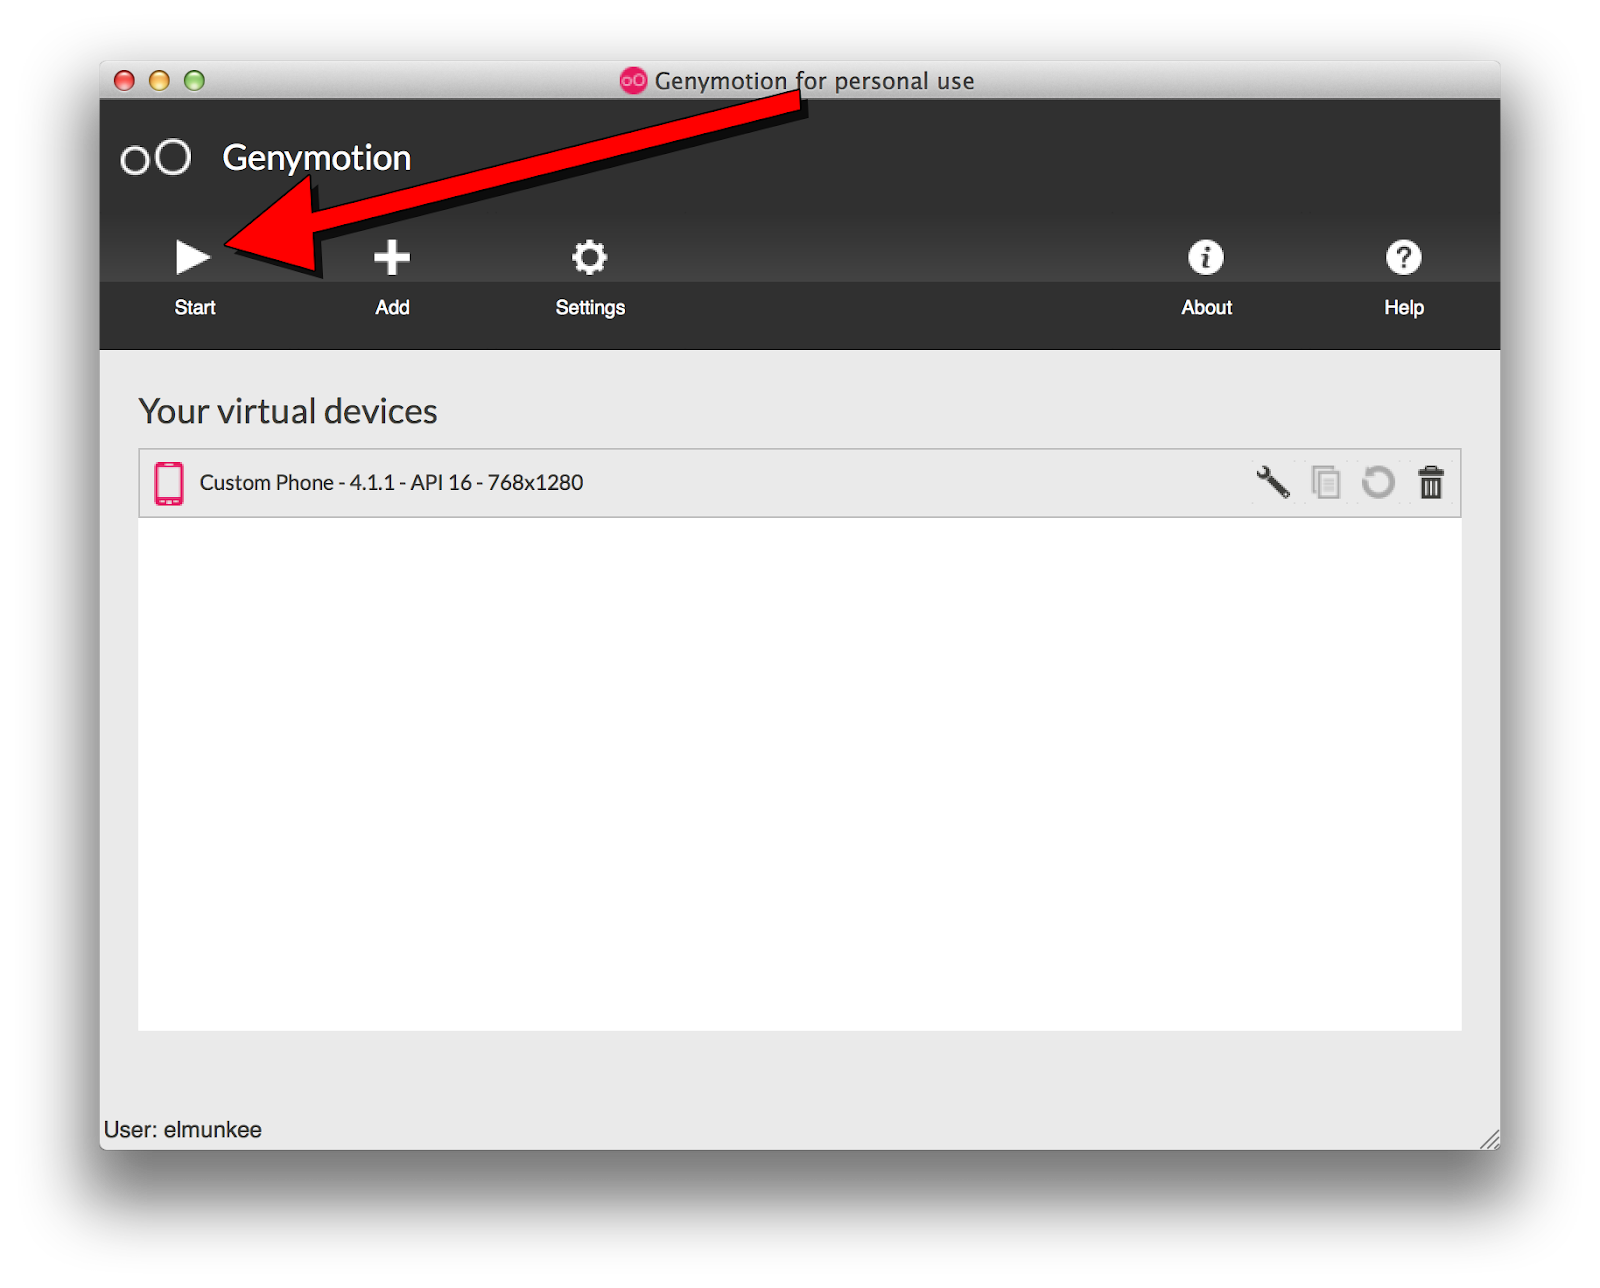
After the device is created, press “Finish”. This will take you back to the “Your devices” screen. From here, you can select your device and press “Start”:
After around 10 seconds of loading ( Retina MacBookPro), the emulator is up and running and oh my…..is it fast!
Now fire up LiveCode, and if you already have this setup for Android development and have a stack open which has its deployment platform set to Android, you should see the Genymotion emulator in the list of “Test Targets”..so good, so far 🙂
Now…try to deploy your stack to the emulator… uh oh….”Houston, we have a problem”
The error that occurs in the emulator is due to the incompatible architecture that a LiveCode built Android APK uses. LiveCode builds ARM based Android standalones (as around 99% of Android devices use this architecture) whereas, Genymotion is built on x86 architecture.
Don’t worry, I haven’t strung you along and there is a solution to this which involves installing an ARM translation library. All of this is explained in the following XDA developer post-
http://forum.xda-developers.com/showthread.php?t=2528952
With the main steps we need being 1 – 4
So basically, you have to download the ARM translation installer zip, drag it onto the Genymotion emulator, accept the flash and restart the emulator after the flashing has finished. (to restart, simply quit the emulator and re-launch)
Now if everything has went as planned, you should now be able to deploy to the emulator from within LiveCode 🙂
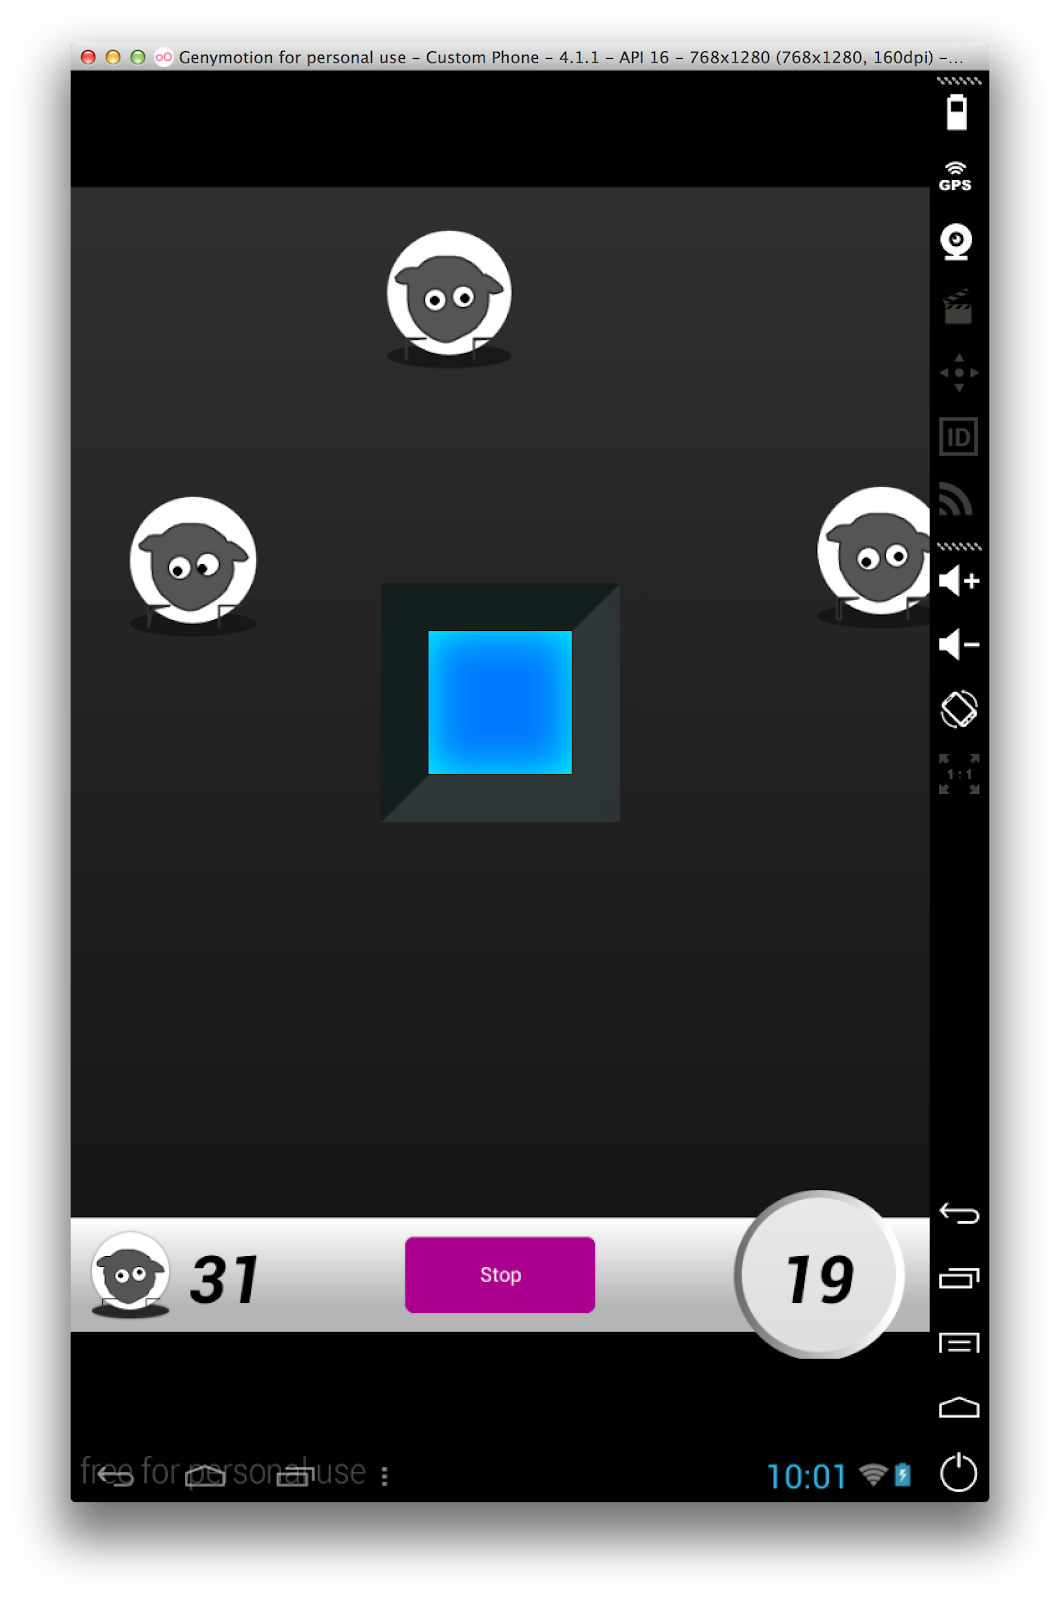
TAADAA! Here we have Sheepherder running in Genymotion with the performance being on par with any physical device.
Thats it! I hope you find this useful when it comes to testing your LiveCode Android Apps along with making your Android development a more enjoyable,fun and stress free experience 🙂
Please let us know how you get on in the comments below or if you have any other emulator related tip/tricks
read moreHTML5 and now a Mobile LiveCode IDE I hear you all cry!…..well sort of 🙂
Before you continue reading this post, I have to make you aware that this is not a mobile IDE that we are working on in-house but a personal fun project (proof of concept) that I have started and like to dive into whenever I get a spare moment (which is very rarely).
There has been much discussion of a LiveCode IDE that runs on mobile devices. This would not only take the creation of LiveCode applications into the mobile space, but would also open up LiveCode to a whole new market.
So without further ado, I give you my LiveCode Mobile IDE!!! (Trumpets Please!)
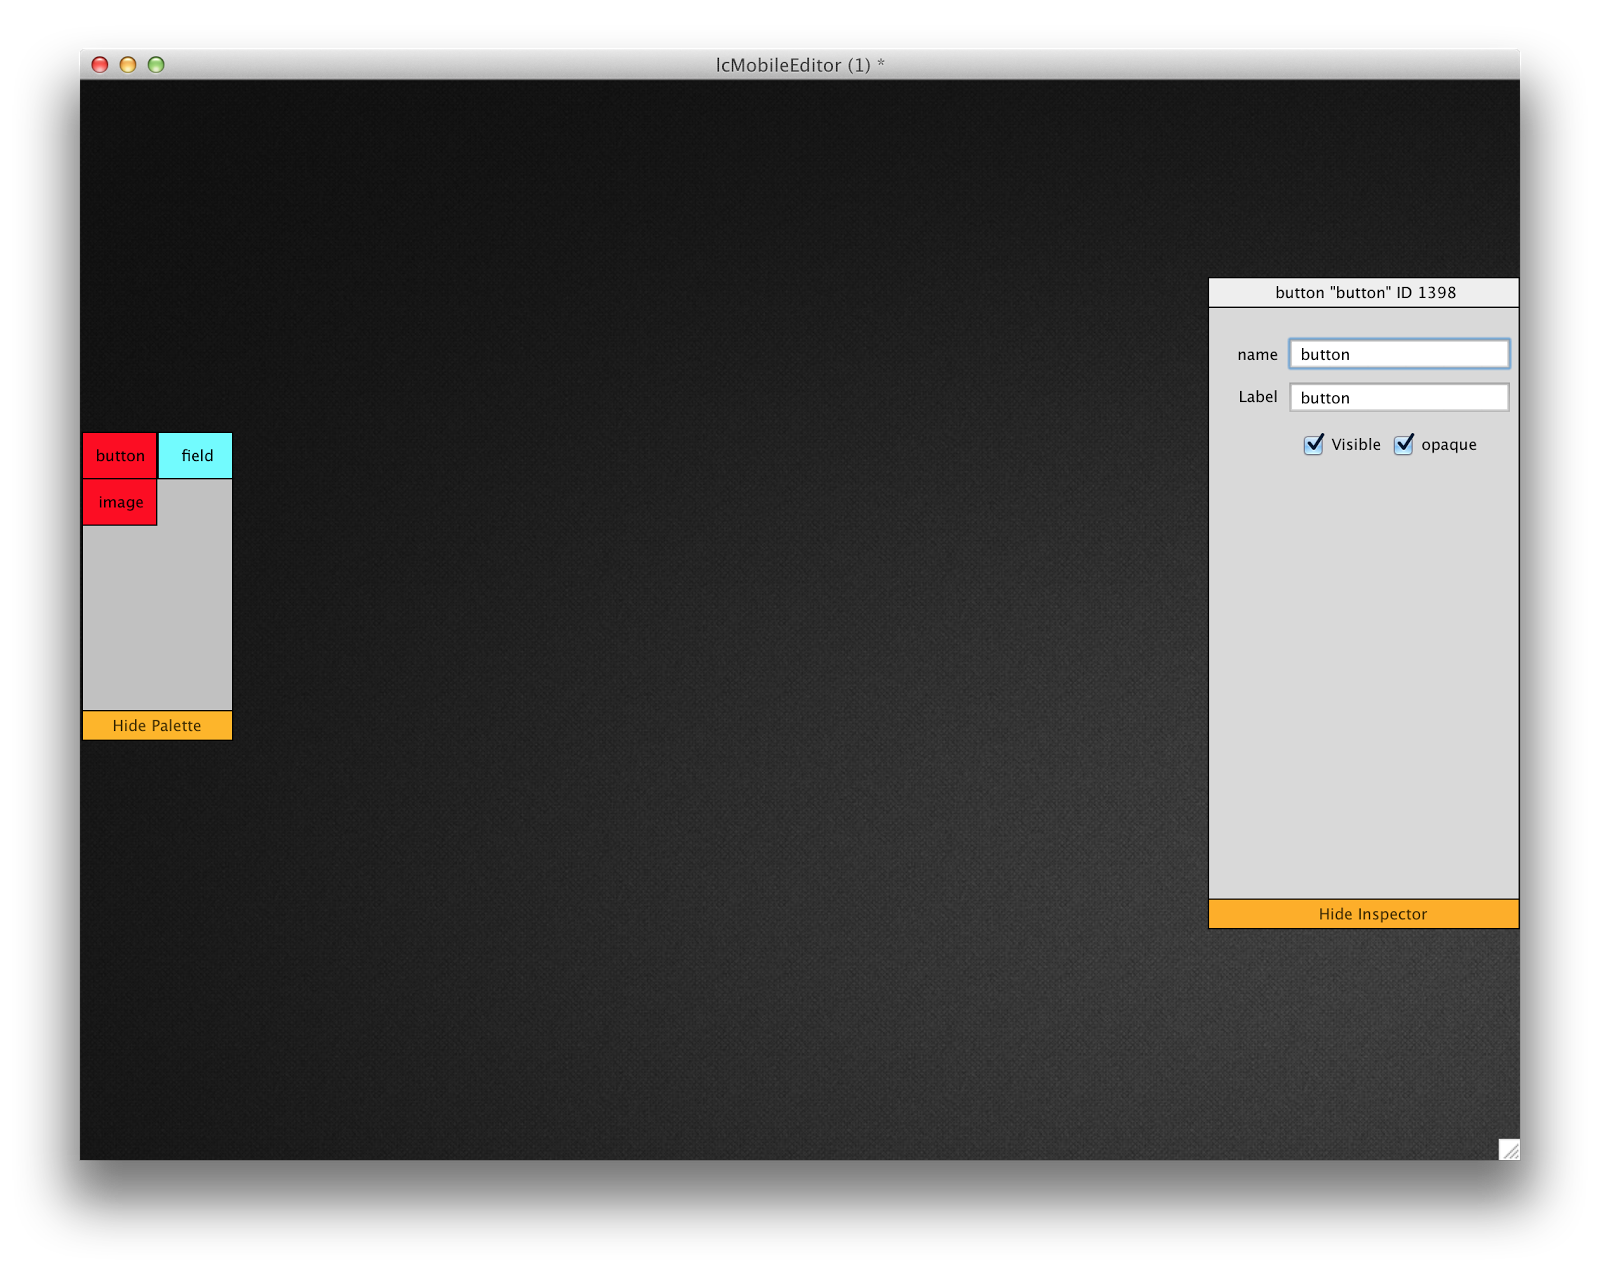
Tada!
Now I know that my graphic design skills are nothing to shout home about, but all of that can come later. Getting the functionality done first is key.
So let me give you a brief overview of what I’ve accomplished so far:
After I started scripting the above, I soon began to realise the sheer quantity of elements there are within the desktop IDE and what I have achieved so far is only the tip of the iceberg.
So let me explain how I accomplished some of this but please be gentle with my code as it can get quite unruly at points 😀
Palette Creation
The first step was creating both the tools and property inspector palettes. These are just grouped controls of graphics objects. To show and hide the palettes, I simply applied a move command to show/hide them depending on their location. Below is the tools palette show/hide script
on mouseUp
if the loc of group "toolsPallete" is 54,360 then
move group "toolsPallete" to -36,360 in 100 milliseconds else
move group "toolsPallete" to 54,360 in 100 milliseconds
end if
end mouseUp
When working with the property inspector palette it knows which control to assign properties to via a global variable which contains the last selected control name. The name, label, visible & opaque properties of the control can then be assigned accordingly.
Creating Controls
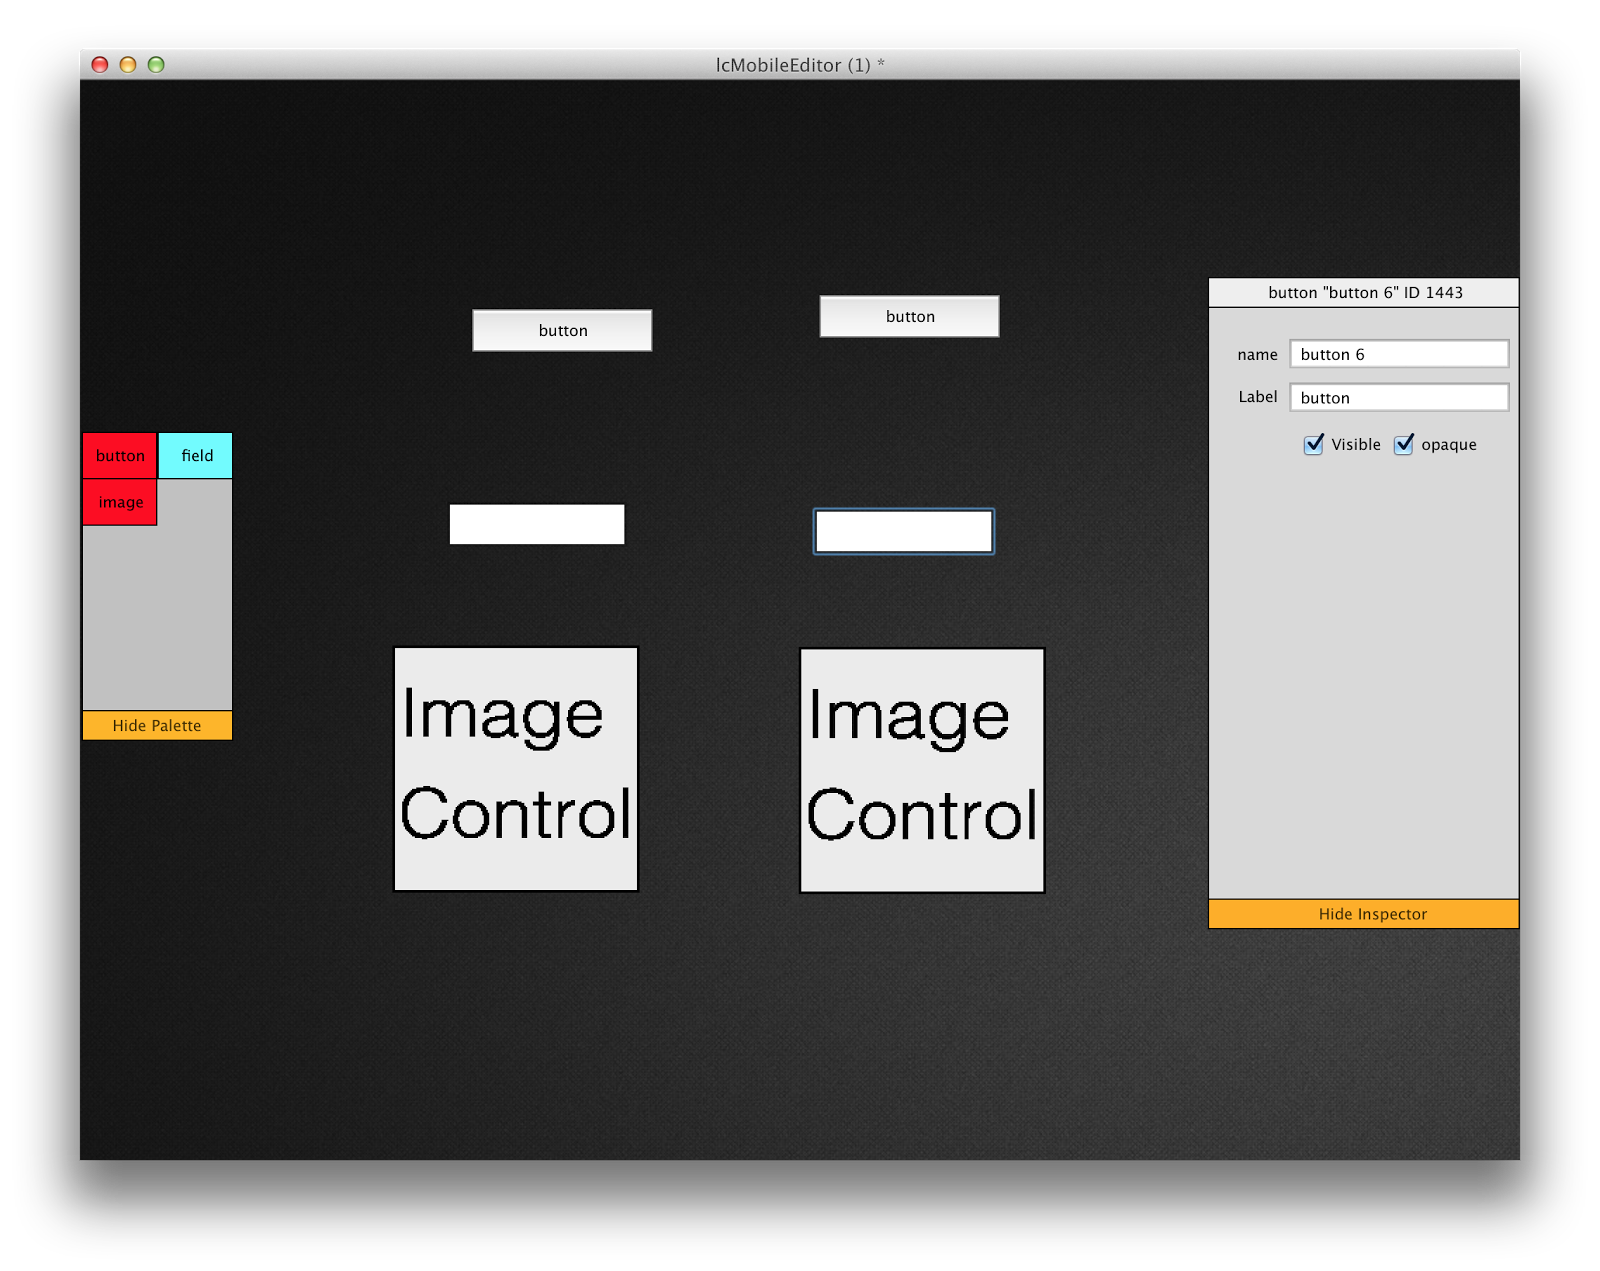
Next is onto creating controls. There are various ways that this could be achieved, but I decided to go with a mouseDown on the card script. This meant that all scripts for this action are in one place. I then defined what happened during the mouseDown by checking if the mouse was within the rect of the tools palette via the mouseLoc function. The name of a created control is defined by the amount of pre-existing controls of that type currently present on the card.
local sMouseDown
global gControlName
-- creates controls from tools pallet group
on mouseDown
if the mouseLoc is within the rect of group "toolsPallet" then
put empty into gControlName
put true into sMouseDown
if the mouseloc is within the rect of graphic "buttonGraphic" then
lock screen
create button "button"
set the loc of it to the mouseLoc
set the name of it to (the short name of it && (the number of buttons of this card +1))
set the label of it to "button"
put the name of it into gControlName
set the script of gControlName to the cGrabMe of this stack
unlock screen
end if
if the mouseloc is within the rect of graphic "fieldGraphic" then
lock screen
create field "field"
set the loc of it to the mouseLoc
set the name of it to (the short name of it && (the number of fields of this card +1))
put the name of it into gControlName
set the backGroundColor of it to White
set the script of gControlName to the cFieldScript of this stack
unlock screen
end if
if the mouseloc is within the rect of graphic "imageGraphic" then
lock screen
create image "image"
set the loc of it to the mouseLoc
set the text it to the text of image "ic.png"
set the name of it to (the short name of it && (the number of images of this card +1))
put the name of it into gControlName
set the script of gControlName to the cGrabMe of this stack
unlock screen
end if
end if
end mouseDown
--allows created controls to be moved
on mouseMove
if sMouseDown is true then
if gControlName is not empty then
set the loc of gControlName to the mouseLoc
end if
end if
end mouseMove
--stops controls sticking to mouse loc
on mouseRelease
setInspector
put false into sMouseDown
end mouseRelease
on mouseUp
mouseRelease
end mouseUp
-- sets inspector values to control values
on setInspector
if gControlName is not empty then
put gControlName && "ID" && the id of gControlName into field "nameLabel" of group "inspectorGroup"
put the short name of gControlName into field "nameField" of group "inspectorGroup"
if "image" is not in gControlName then
put the label of gControlName into field "labelField" of group "inspectorGroup"
end if
end if
end setInspector
on updateScript pScript
set the script of gControlName to pScript
end updateScript
A few other things are happening on the card’s script.
Custom properties of the stack contain control scripts which deal with re-positioning the control and launching the script editor. The following is the script applied to a button:
global gControlName, gScript
local sMouseLocation
on mouseDown
put the mouseLoc into sMouseLocation
put the name of me into gControlName
setinspector
grab me
end mouseDown
on mouseStillDown
if the mouseLoc is sMouseLocation then
put the script of me into gScript
go to card "scriptEditor"
end if
end mouseStillDown
Script Editor
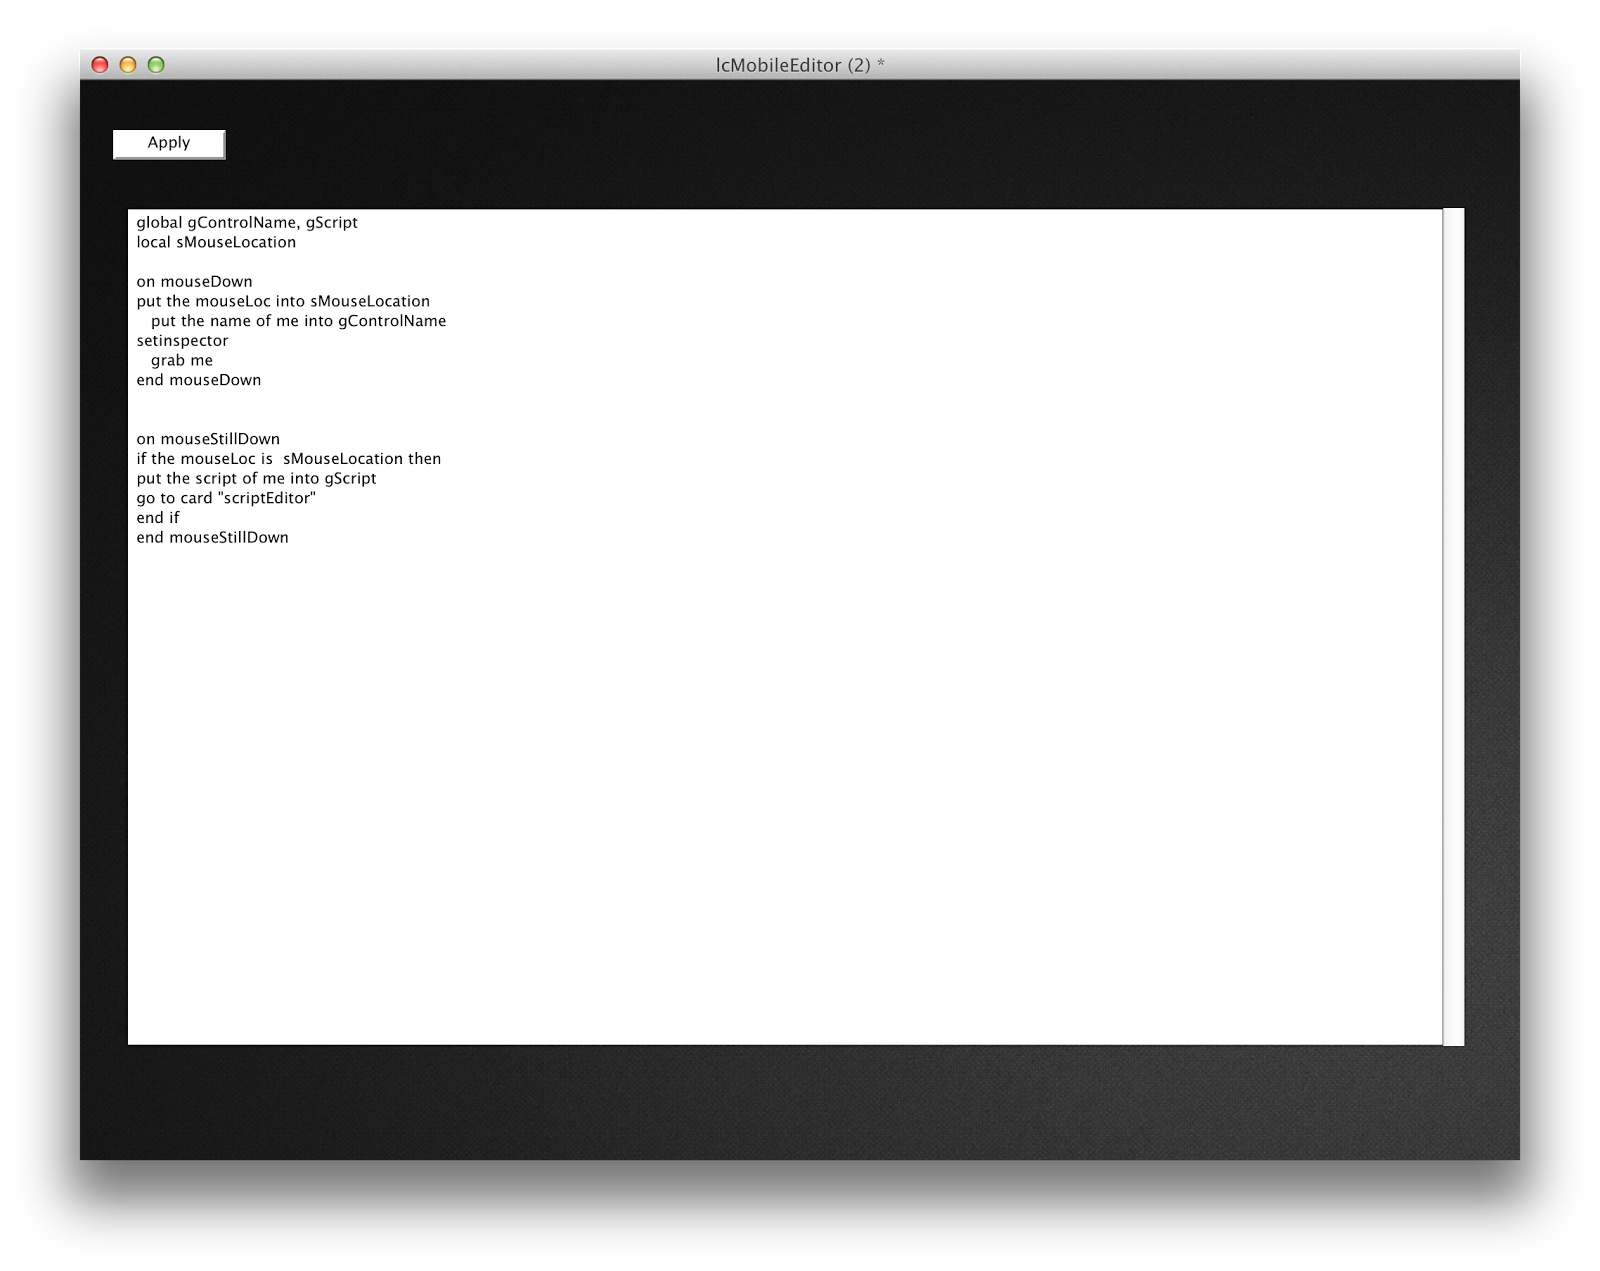
The script editor can be accessed by long pressing (mouseStillDown) on any create control. When a user does this, the script editor card is opened and the script of the control is shown.
You can then edit the script, hit the apply button and it takes you back to the main card where the control’s script should update automatically.
global gControlName, gScript
on mouseUp
put field "codeEditor" into tScript
go card "canvas"
send "updateScript tScript" to card "canvas"
end mouseUp
So there you have it, a very basic mobile IDE 🙂 . As I mentioned previously, there is still a lot of work to do and it will take some time for it to progress into more advance stages of development. (If there were only more hours in the day…)
I hope you enjoyed this post and for those who are interested, here is a link to the current version of the IDE. Please feel free to experiment with it and if you’re up for the challenge, add more features to it.
http://techsupport.on-rev.com/lcMobileEditor.zip
Let us know how you get on or if you have any other feedback in the comments below.
read more


Recent Comments