
Ah, the good ol’ Android Emulator….Many a support request has come in regarding this, mainly to complain of how dog slow it can be especially in comparison to the iOS simulator.
The main reason for the speed difference between both is that the Android “Emulator” is physically emulating the software and hardware of actual devices whereas the iOS “simulator” is only simulating the iOS operating system and has full access to all of the system resources (e.g. CPU, GPU etc)
With the above in mind, an Android Emulator is good if you’re starting with Android development or if you are in a pinch but ideally testing your application on a physical device gives you the best experience and doesn’t leave you wanting to pull your hair out.
With that being said, there is an alternative “Emulator” that I have used in the past and it has also recently been brought to our attention via support (Thanks Fulvio), which provides far superior performance compared to Google’s “out of the box” Emulator.
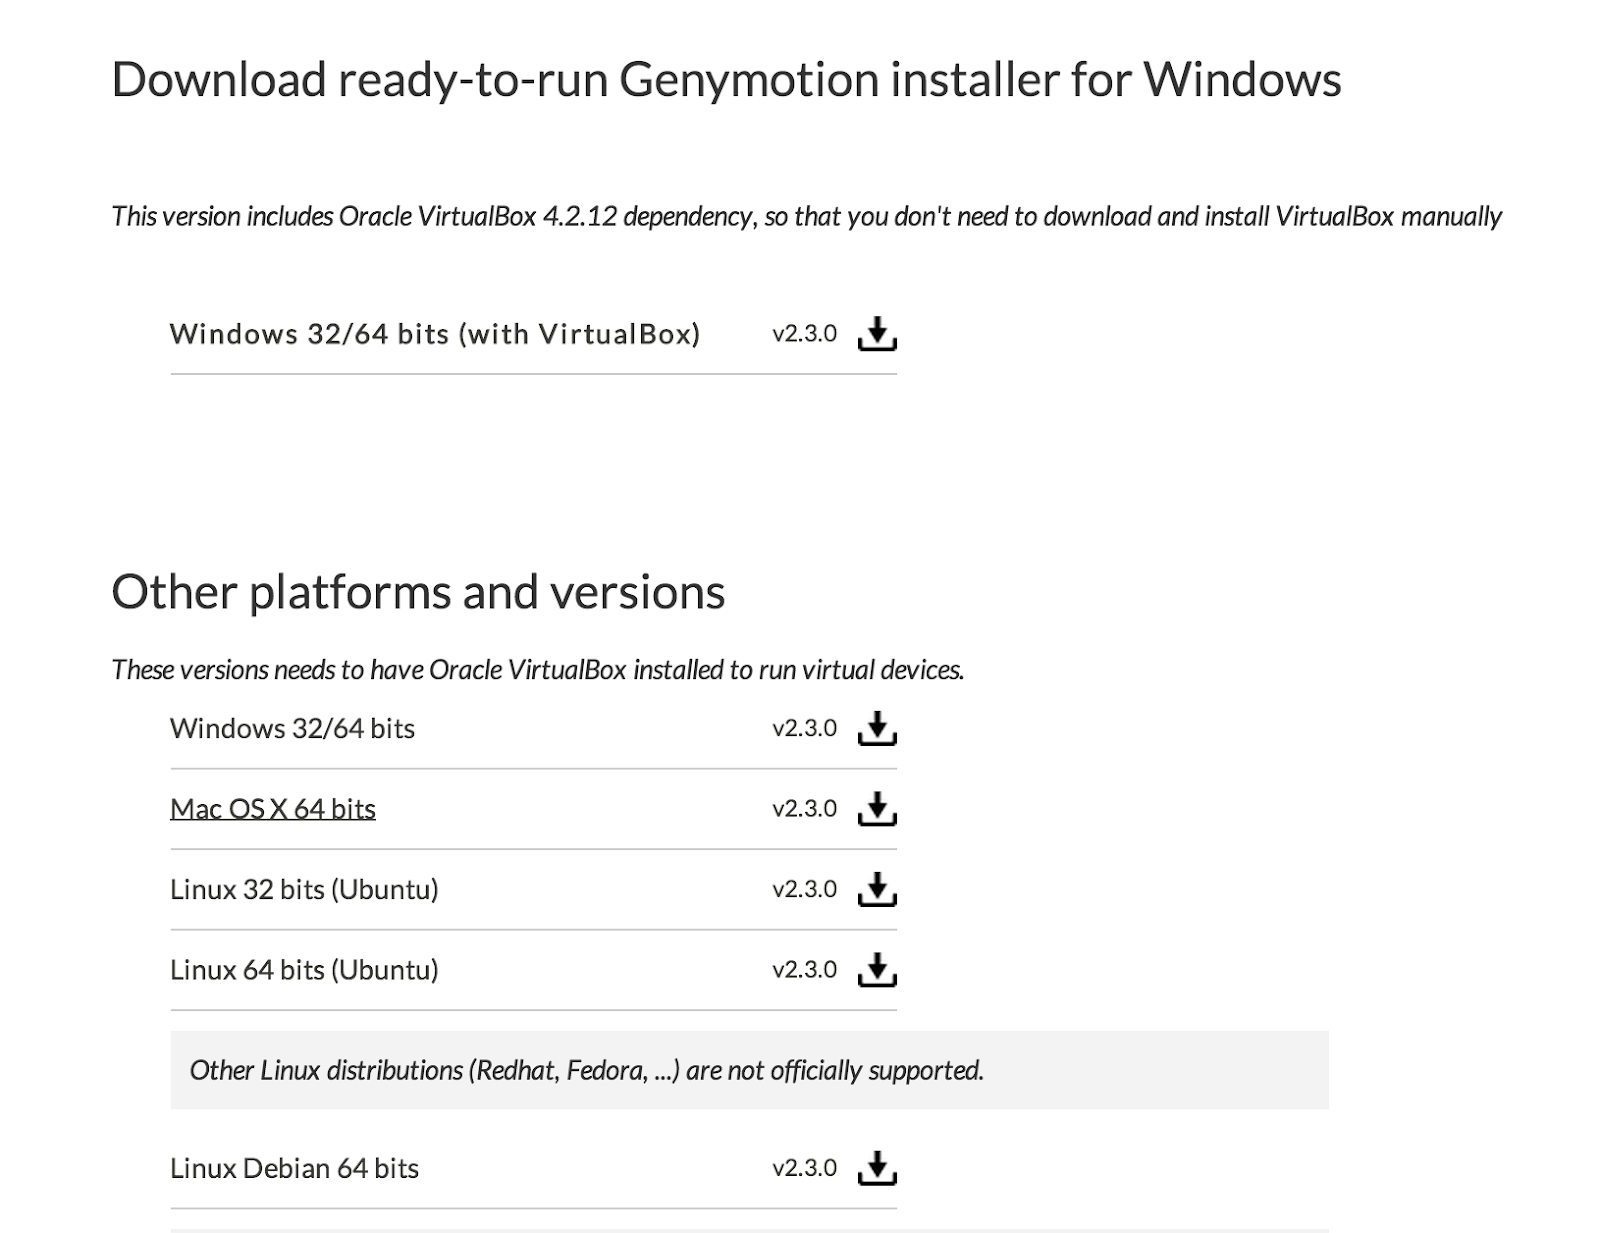
The software in question is Genymotion and is available to download from:

There are many versions available, but the Free version should provided you with everything you need to get testing your apps at super speed!
Now, its not a simple case of installing Genymotion and off you go, there are few things required in order to make this emulator work with a LiveCode built Android App. In order to save you from throwing your computer off the wall, I will now go through the GenyMotion setup step-by-step 🙂
Here we go:
-
The first thing you will want to do is download Genymotion and install it on your system.
-
Genymotion runs an emulator within a Virtual machine with Virtualbox being the software that it uses for this purpose. So, the next thing to do is head over to https://www.virtualbox.org/ then download and install the latest release of Virtualbox.

-
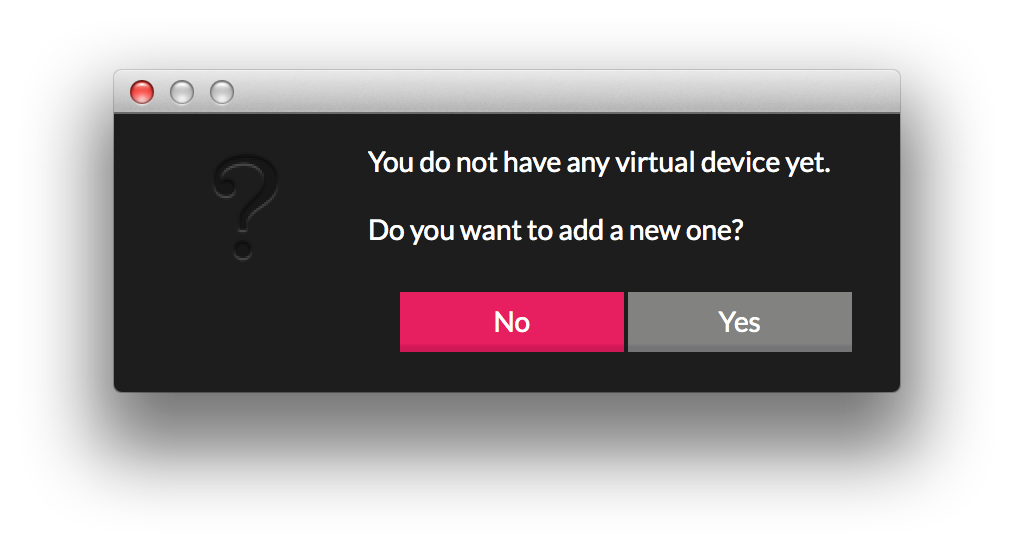
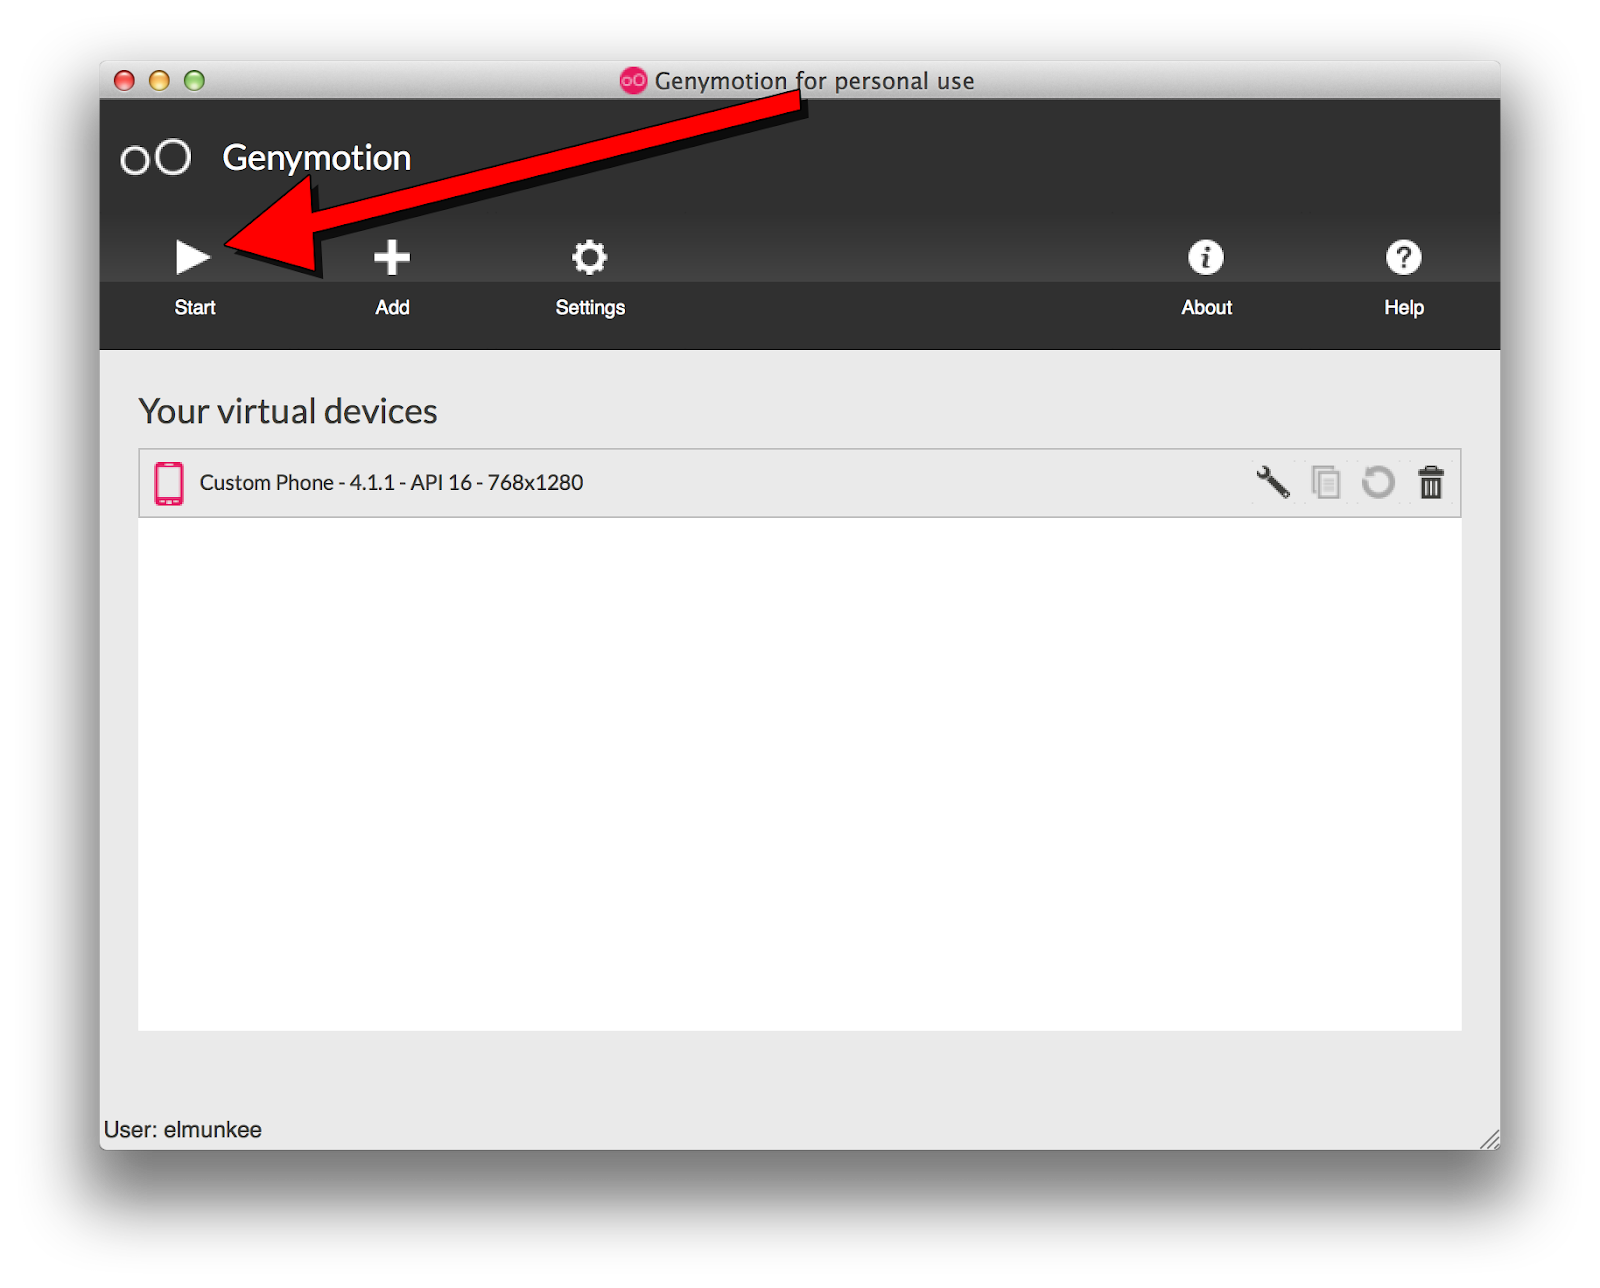
We are now at a stage where we can run the Genymotion executable, so let’s do this.
Once launched, it will present you with the following screen. Select “yes”:
-
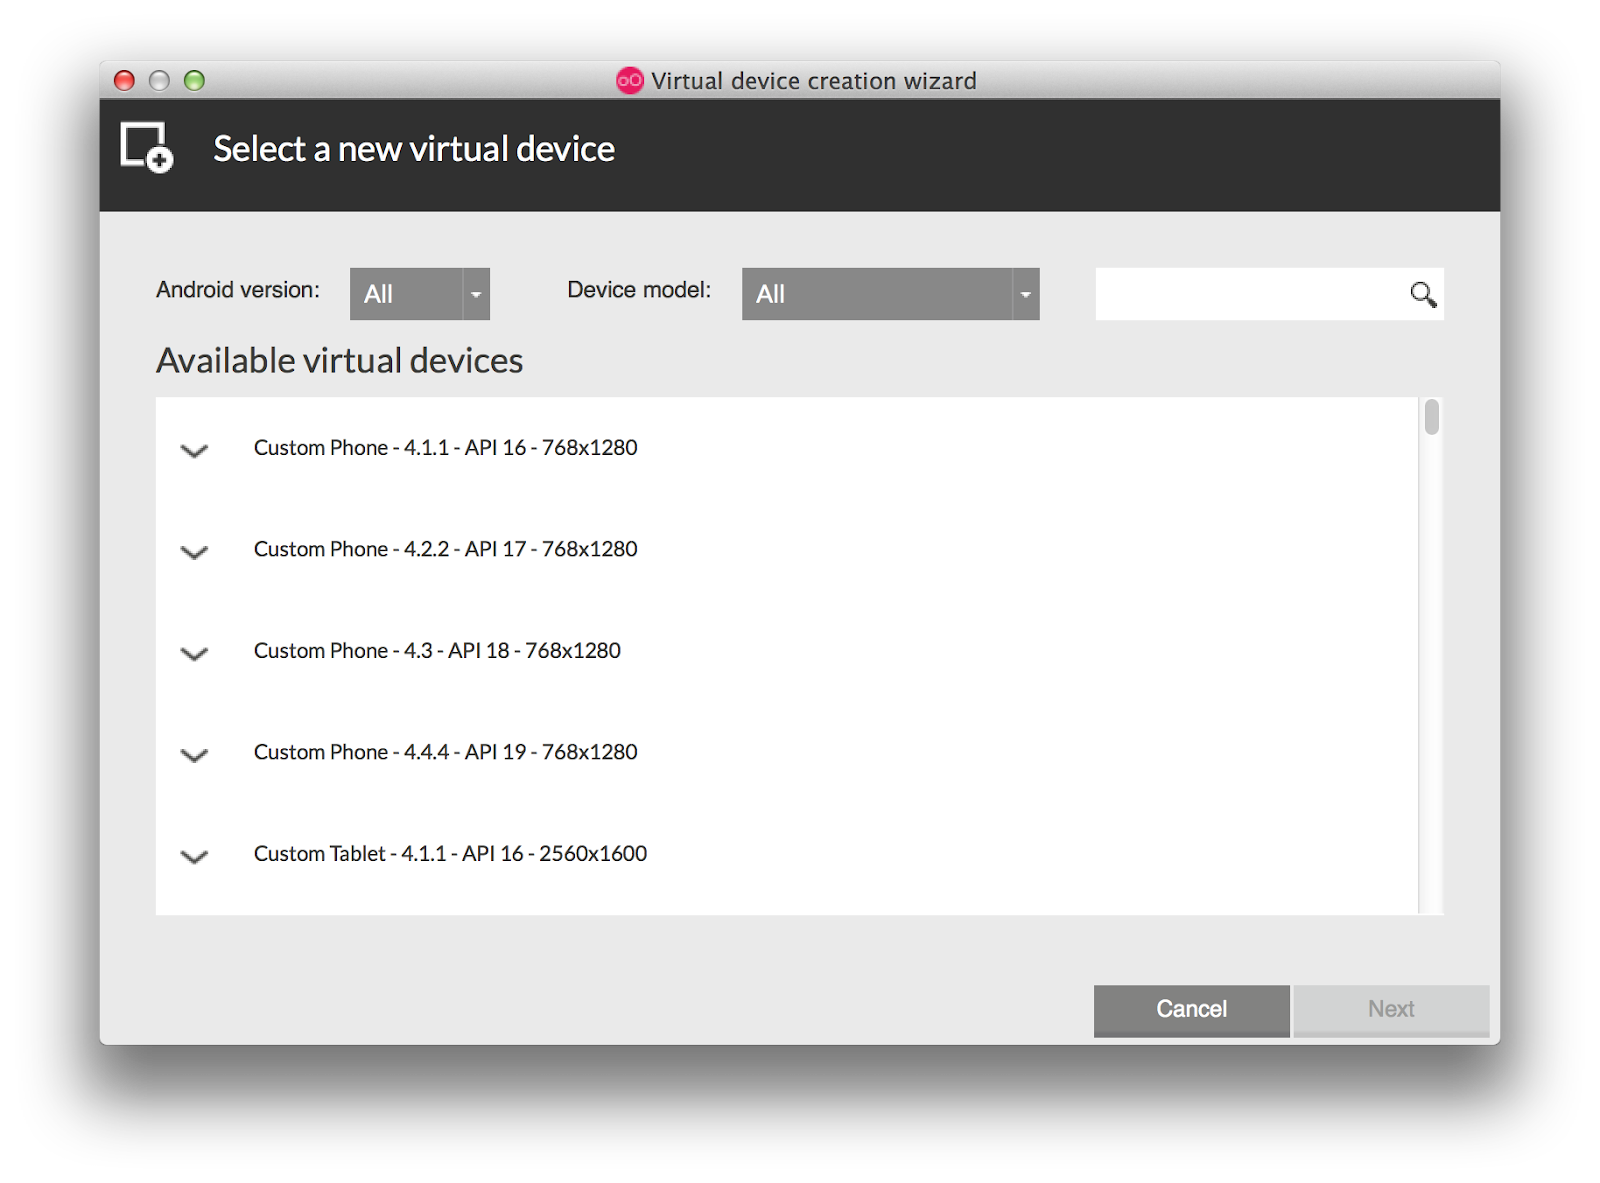
You will now be presented with the “Virtual Device Creation Wizard”. In order to create a new device, you will need to sign in with your Genymotion account. After you have signed-in, you will be presented with a list of emulator copies of all of the latest Android Devices.
-
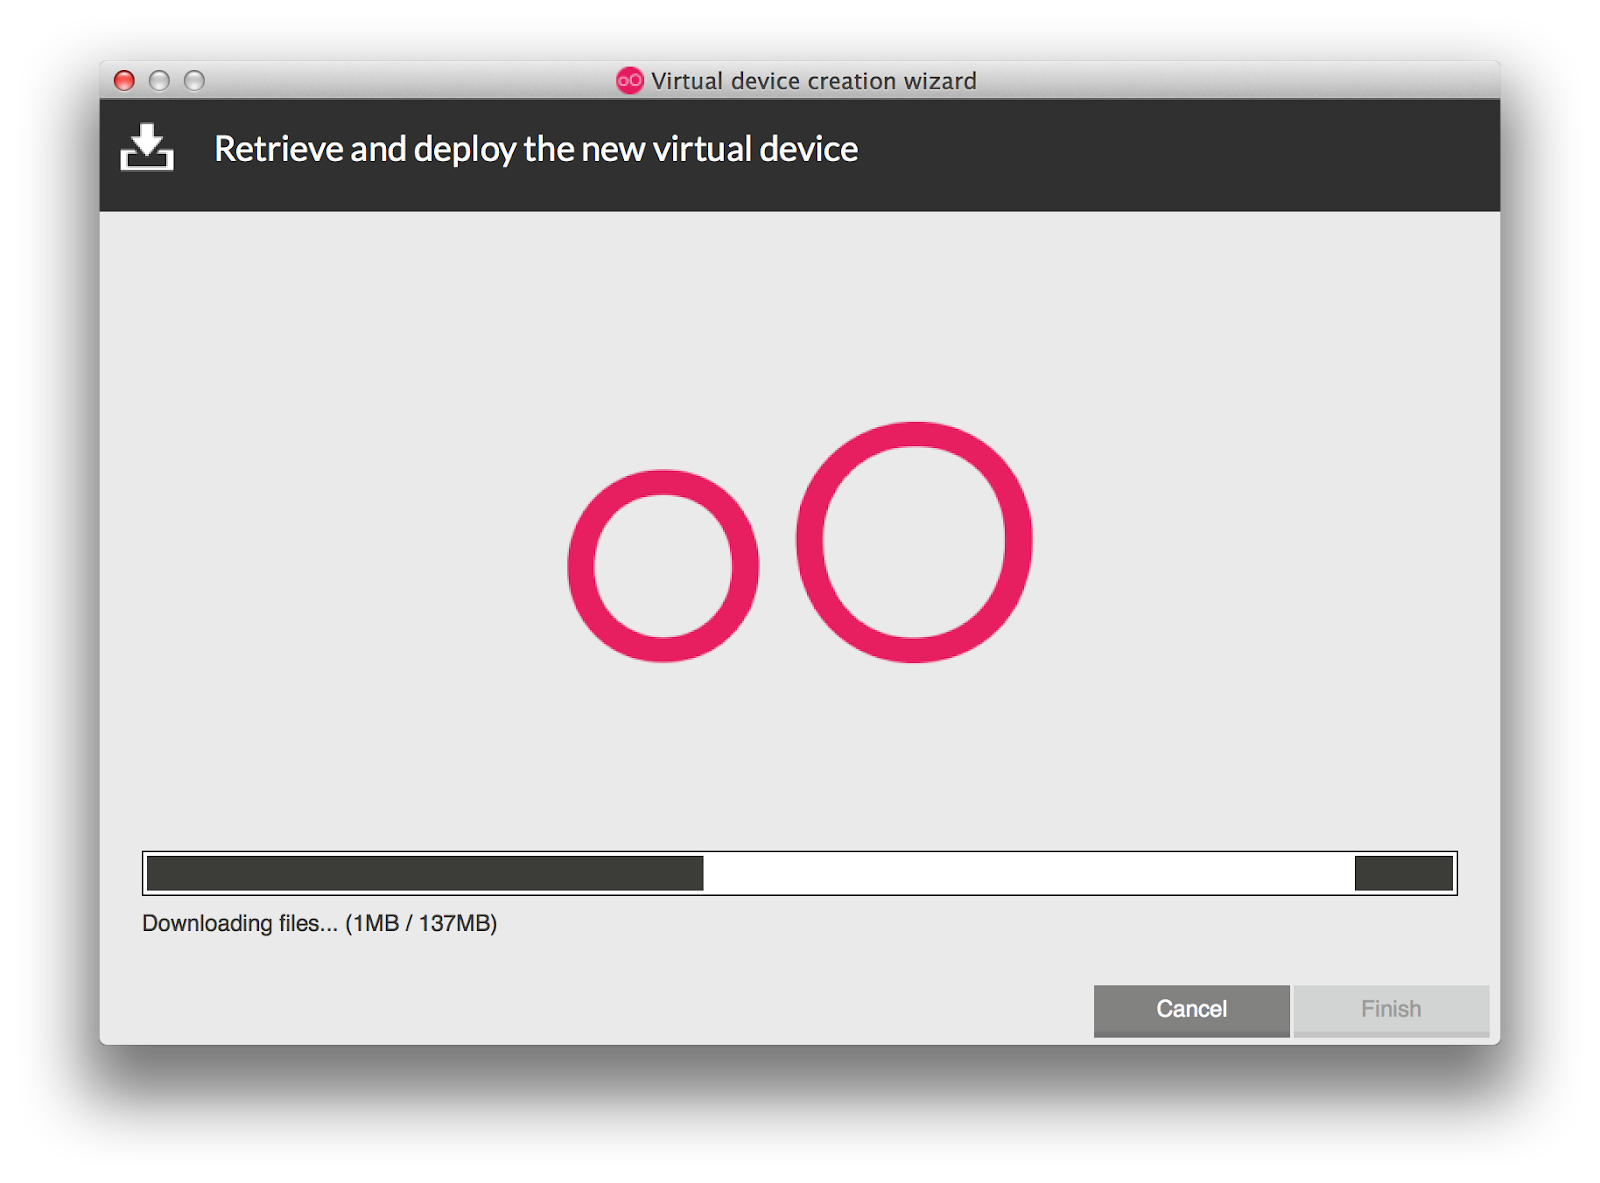
For simplicity, I am going to create an emulator using the first option of “Custom Phone- 4.4.1-API 16 768 x 1280”. So I select this, and press “Next”. This then allows me to name my emulator, I leave the name as its default value and press “next” again. This will then proceed to download this emulator for use:
If all goes as expected, a “The virtual device has been successfully created” message screen will appear:

-
After the device is created, press “Finish”. This will take you back to the “Your devices” screen. From here, you can select your device and press “Start”:
-
After around 10 seconds of loading ( Retina MacBookPro), the emulator is up and running and oh my…..is it fast!
-
Now fire up LiveCode, and if you already have this setup for Android development and have a stack open which has its deployment platform set to Android, you should see the Genymotion emulator in the list of “Test Targets”..so good, so far 🙂

-
Now…try to deploy your stack to the emulator… uh oh….”Houston, we have a problem”
The error that occurs in the emulator is due to the incompatible architecture that a LiveCode built Android APK uses. LiveCode builds ARM based Android standalones (as around 99% of Android devices use this architecture) whereas, Genymotion is built on x86 architecture.
Don’t worry, I haven’t strung you along and there is a solution to this which involves installing an ARM translation library. All of this is explained in the following XDA developer post-
http://forum.xda-developers.com/showthread.php?t=2528952
With the main steps we need being 1 – 4

So basically, you have to download the ARM translation installer zip, drag it onto the Genymotion emulator, accept the flash and restart the emulator after the flashing has finished. (to restart, simply quit the emulator and re-launch)
-
Now if everything has went as planned, you should now be able to deploy to the emulator from within LiveCode 🙂
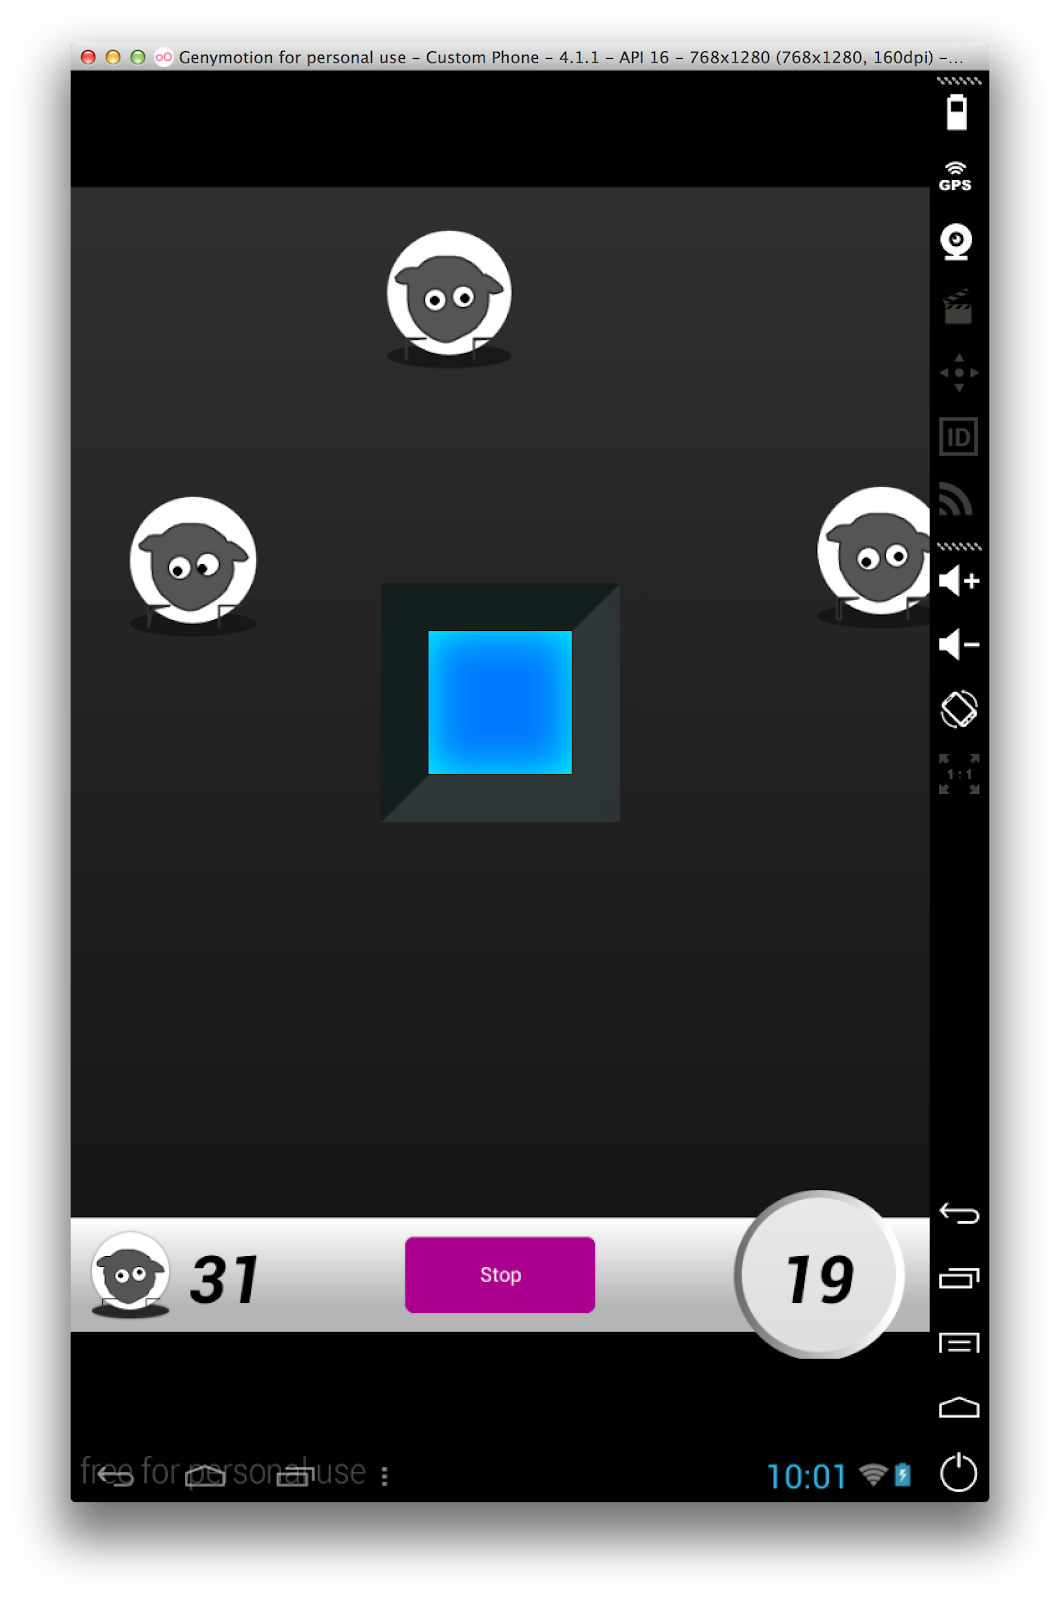
TAADAA! Here we have Sheepherder running in Genymotion with the performance being on par with any physical device.
Thats it! I hope you find this useful when it comes to testing your LiveCode Android Apps along with making your Android development a more enjoyable,fun and stress free experience 🙂
Please let us know how you get on in the comments below or if you have any other emulator related tip/tricks
12 comments
Join the conversationSimon Smith - October 15, 2014
Simon Smith liked this on Facebook.
Lilies & Dreams - October 15, 2014
Lilies & Dreams liked this on Facebook.
Neil Roger - October 15, 2014
Neil Roger liked this on Facebook.
Roger Eller - October 15, 2014
This is very well written, easy to follow, and a MAJOR productivity booster if you code for Android with LiveCode.
Stephan Uijthoven - October 16, 2014
Stephan Uijthoven liked this on Facebook.
Roger Eller - October 16, 2014
Roger Eller liked this on Facebook.
Frans Schoffelen - October 16, 2014
Hi Neil, thanks for the clarification. I installed everything “by the book” on my Mac Pro running 10.9.5 and LC 7 RC2 and the emulator starts alright but all my LC 7.0 simple one card apps just come back with “Unfortunately Hello World has stopped”. I did FLASH with the ARM translator.zip, also tried adding the GApp’s but to no avail. Did you successfully get this to work with LC 7 RC 2?
( By the way : when trying to add the gapps-kk-20140105-signed.zip the VM box only copied it to the SD_Downloads folder. It did not do anything with it like FLASH of decompress….
Any hints would be appreciated.
Thanks warmest regards from Berlin.
Frans
Neil Roger - October 16, 2014
Hi Frans,
Just tested with 7.0 RC2 and all working here with any stack that I throw at it (generic 768×1280 emulator).
Since receiving your comment , I created a Galaxy S5 clone emulator and attempted to deploy a stack too it…this has indeed resulted in a “….has stopped” message. Very strange.
Could you let me know what emulator you are trying to deploy too and this may allow us to narrow down what is causing the deployment issue.
Kind Regards,
Neil Roger
—
LiveCode Support Team ~ http://www.runrev.com
—
Catalin Anesia - October 19, 2014
Catalin Anesia liked this on Facebook.
Dave Mustang - November 23, 2014
Hi Neil,
i am trying desperately to try the same thing on Windows 8.1, but Livecode App wont run.
I have installed Genymotion version 2.3 and Virtualbox as indicated in your post, then creating a custom phone with android 4.1.1 and even after flashing with the ARM translator and installing gapps, it still says “the application has stopped unexpectedly.Please try again”
Have you been able to test it sucessfully on Windows and run livecode App on it?
Best Regards,
Dave
HuanQian - January 11, 2015
i have the same problem too. when i test the “mobile template” which is in the “Start Center”,i have got the same problem.the VM information is that platform: 4.2.2 CPU/ABI:MIPS API level:17
LC vision is stable 7.0.1
my os is win7*32
thanks!
keram - January 22, 2015
Hi Neil,
I followed your instructions using Genymotion 2.3.1 and when running the test from LC I’m getting this error:
http://tinypic.com/r/sxzosp/8
Any idea what’s wrong?
keram