

Ah, $1.4 million. It’s a lot of money isn’t it? What could such a large sum of money buy you? Well you could go for-
- A McLaren P1 Supercar
- A Luxury home
- A Luxury Yacht
- An Expensive handbag
- An app that randomly shows an arrow pointing left or right…
You might be thinking, “who would pay such a ludicrous amount for the last item on this list?” Apparently the TSA have done just that.
Well, maybe not exactly. The figure of $1.4 million although technically true, is part of a larger contract the TSA have with IBM. If we take this into account along with the information found in this article, the cost to create the app in question still comes to an eye watering sum of $47,400!
Ok, so now that we know how much the app cost to develop, let’s see how long the task would have taken in LiveCode and how much we could have saved our friends at the TSA.
To re-create this app, I will be using LiveCode 8. Not only is this the latest and greatest version of LiveCode, it comes with some great new additions which make re-creating this applications a breeze. One such feature is the new SVG Icon widget.
Lets begin….

The first thing we need to do is analyse what the application is doing. If we have a look at the above GIF we can see that the app is installed on a tablet device in portrait orientation. The TSA agent taps the screen, as instructed by the text on screen, which in turn randomly displays an arrow either pointing left or right. The arrows are transitioned on and off screen by a fade in and out effect.
So to sum up we need:
- Tablet sized portrait app
- Ability to respond to user touches
- Show randomly selected arrow graphic with fade transitions
Let’s open LiveCode and start creating the stack.
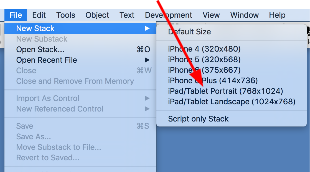
As of LiveCode 8, we now have a list of some default device sizes to work with when creating a new stack. Although a small change, it’s one less thing to worry about when it comes to creating a new app. I have chosen iPad/Tablet Portrait for my stack size as this is the most suitable for the task at hand.
After creating the initial stack, I give it the name TSA and change its background color to black via the property inspector. This is good point to also save the stack.
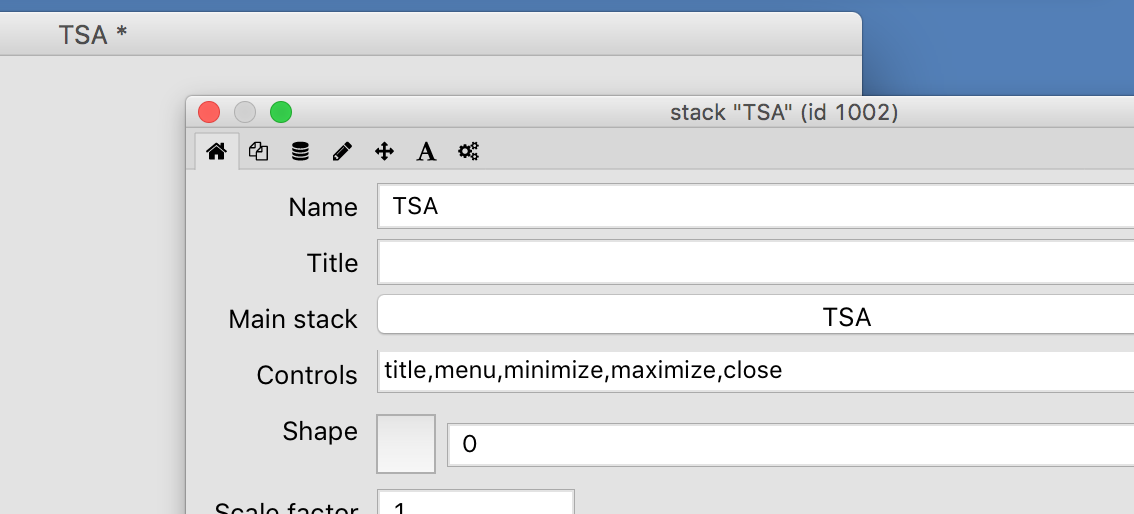
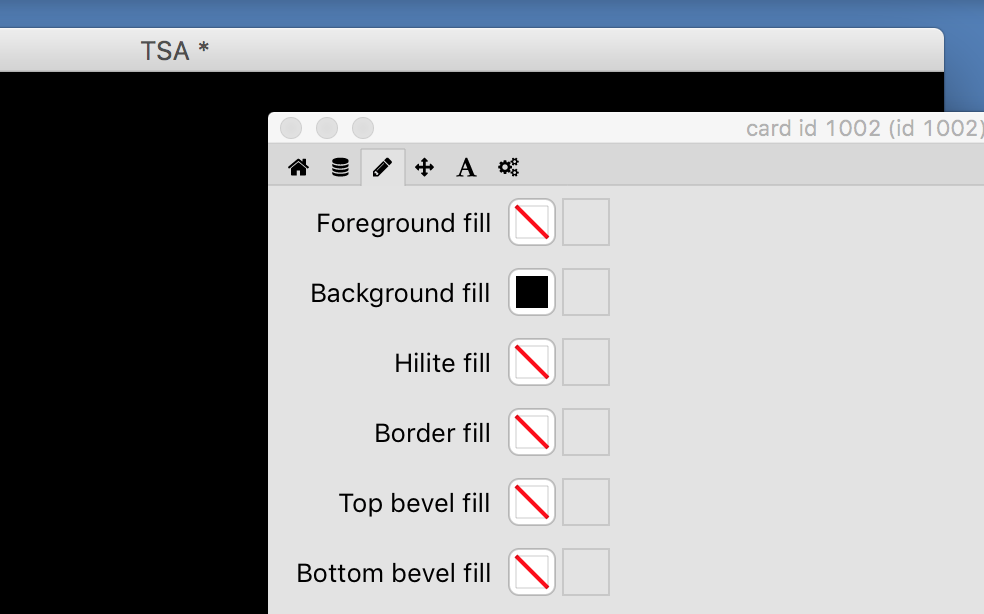
This gives us the base stack to work with.
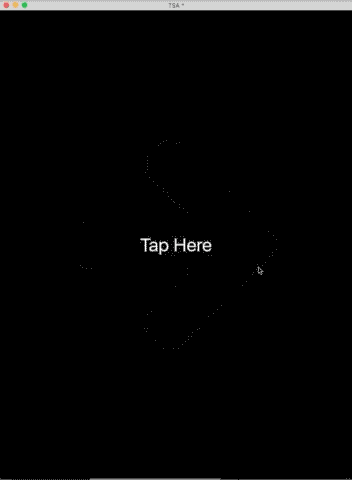
The next step is to create a label field on the stack to tell the user of the application what to do. In the case of this app, it is simply informing them to Tap Here.
This field is placed in the centre of the stack and I set the text color to white and the text size to 40.
A quick way to centre a control on the stack is to select it and then execute the following via the LiveCode message box-
set the loc of the selObj to the loc of this card
Next, we want to implement some way of showing the arrows.
Prior to LiveCode 8, you would have to use something like image objects to accomplish this. It could be a bit tricky and time consuming to get it just right, on all platforms. This is no longer the case due to LiveCode 8’s SVG Icon Widget.
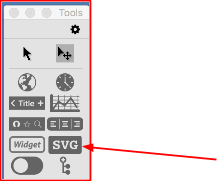
This widget allows the user to include drawn SVG path data within their application. As the widget uses SVG data, it will show as a pixel perfect representation on all devices that the app is deployed to. No more need for multiple density images!
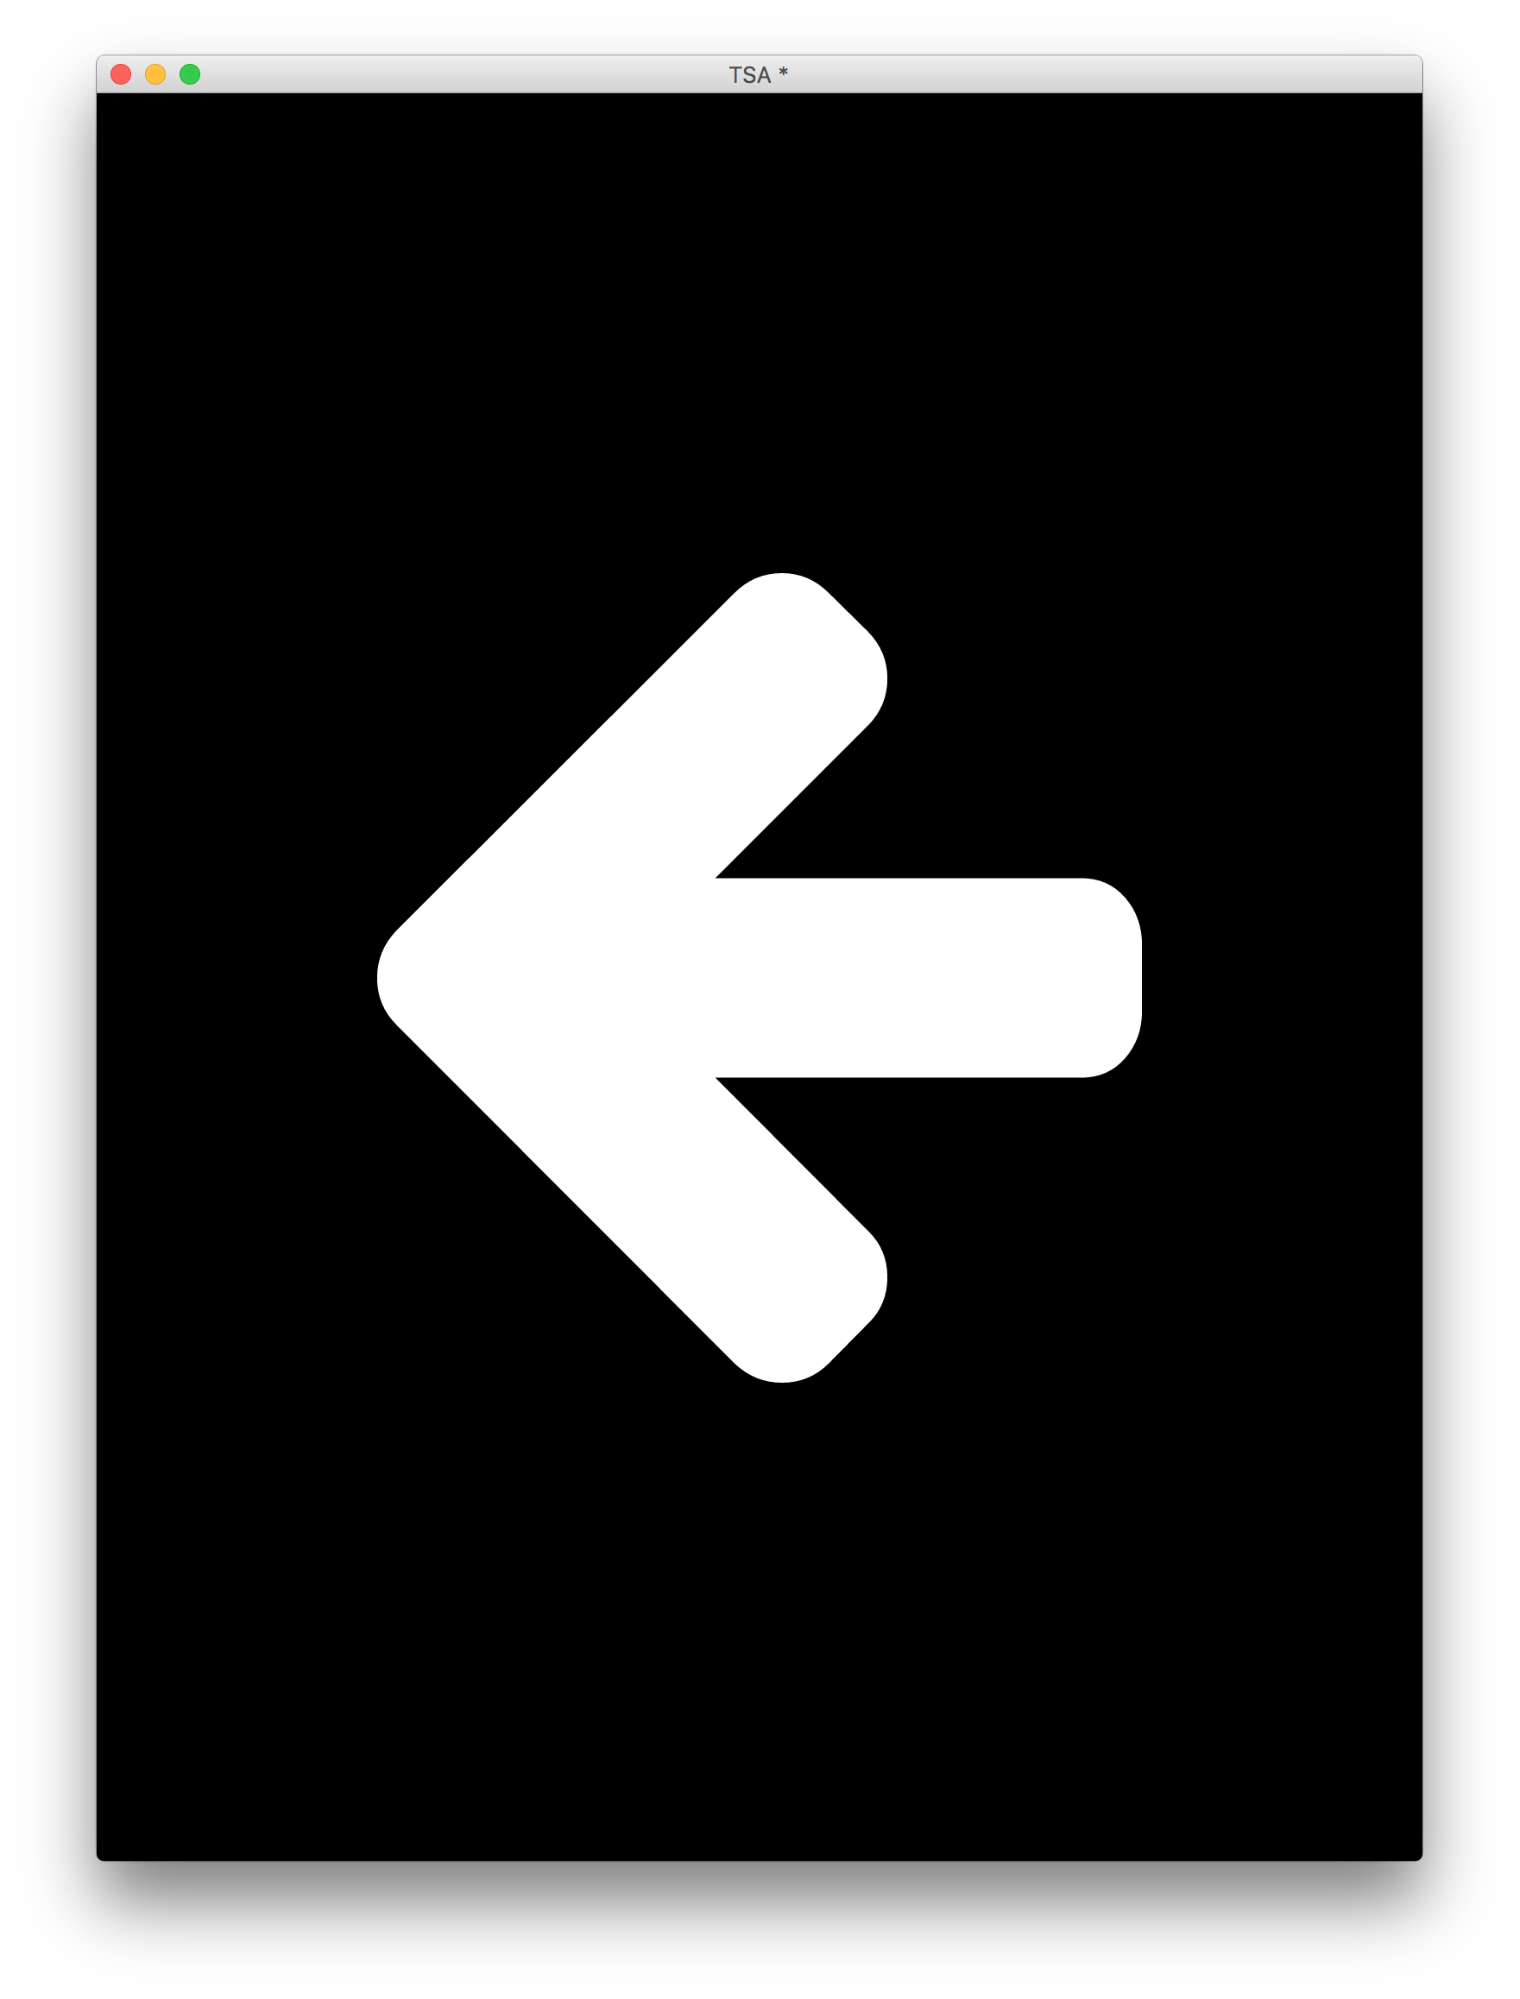
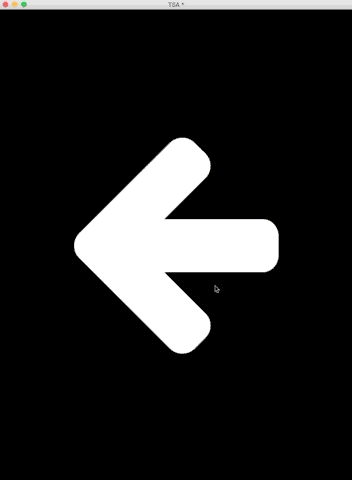
After I drag this widget onto the stack, I resize it, change its preset to an arrow left, set its foreground color to white and centre it using the message box like before. Looking good so far!
The next step is getting the stack to do its main task… show a random left or right arrow.
To accomplish this, we will be working with a mouseUp message. This message is fired after a user either releases a mouse button after clicking or if a user lifts their finger off the screen after they touch it.
As we will be triggering the arrow display functionality wherever the user mouse clicks or touches the app, we will apply the script to the stacks card script. For more information on the message hierarchy in LiveCode, please see the Beginners Guide here.
We start with creating a mouseUp handler on the card script:
on mouseup
end mouseUp
Next we move on to generating a random number, which will be used to select either the left or right arrow. LiveCode has a handy built in random function to take care of this for us:
put random (2) into tNumberI place this random number in the temp variable tNumber as we will be using it in the next part of the script.
Now, the value of tNumber will define which arrow is shown. If it is 1 then a left arrow will show. If it is 2 then a right arrow will show. This action can be taken care of by:
if tNumber is 1 then
set the iconPresetName of widget 1 to "arrow left"
else
set the iconPresetName of widget 1 to "arrow right"
end if
Here we are setting the iconPresetName property of the widget to the appropriate name. As there is only a single widget on the stack, we can easily refer to this by number.
So, the full card script currently looks like:
on mouseUp
put random (2) into tNumber
if tNumber is 1 then
set the iconPresetName of widget 1 to "arrow left"
else
set the iconPresetName of widget 1 to "arrow right"
end if
end mouseUp
If we try this out, by going to run mode, clicking on the stack results in a random arrow being displayed. But what about the transitions?
To re-create the fade in and out transition, we will be working with the widgets blendLevel property. This property defines how transparent a given control will be. If this property is set to 100 then the object will be fully transparent and if it’s set to 0 then it will be fully opaque.
With that in mind, what we need to do is implement a method of cycling through various blend levels to give the fade effect. This can be done quite easily by implementing two repeat loops. One to show the arrow and one to hide the arrow.
repeat with x = 10 down to 0
wait 0 milliseconds
set the blendLevel of widget 1 to x * 10
end repeat
repeat with x = 0 to 10
wait 0 milliseconds
set the blendLevel of widget 1 to x * 10
end repeat
These repeat loops are set to execute 10 times. The value of the current repeat is multiplied by a factor of 10 to give a range of blendLevels to apply to the widget. These will be 0,10,20,30,40,50,60,70,80,90,100.
As the repeat loop is executing so fast, a wait of 0 milliseconds is used just to throttle that back a bit. This ensures that the animation is shown, without any glitches, across all platforms.
Looking at the TSA app, there is a slight pause in between transitions. This can be accomplished in the stack by applying another wait in between the two repeat loops:
wait 1 secondSo, the full finished card script looks like:
on mouseUp
put random (2) into tNumber
if tNumber is 1 then
set the iconPresetName of widget 1 to "arrow left"
else
set the iconPresetName of widget 1 to "arrow right"
end if
repeat with x = 10 down to 0
wait 0 seconds
set the blendLevel of widget 1 to x * 10
end repeat
wait 1 second
repeat with x = 0 to 10
wait 0 seconds
set the blendLevel of widget 1 to x * 10
end repeat
end mouseUp
One last thing we need to do is to allow the stack to automatically scale to any device it’s deployed to. This is easily done in LiveCode by setting the stacks fullScreenMode property to one of the available scaling options. In this example I will use the exactFit scaling option. The following is applied to the stack script:
on preOpenStack
set the fullScreenMode of this stack to "exactFit"
end preOpenStack
One of LiveCode’s many perks is the ability to deploy to all of the major desktop and mobile platforms from a single code base. This means the scripts I have written above will work flawlessly when deployed to tablet devices such as those being used by the TSA.
To do this, all that is needed is to change the stack’s standalone settings to deploy to the devices we require. In this example I will choose both iOS and Android:
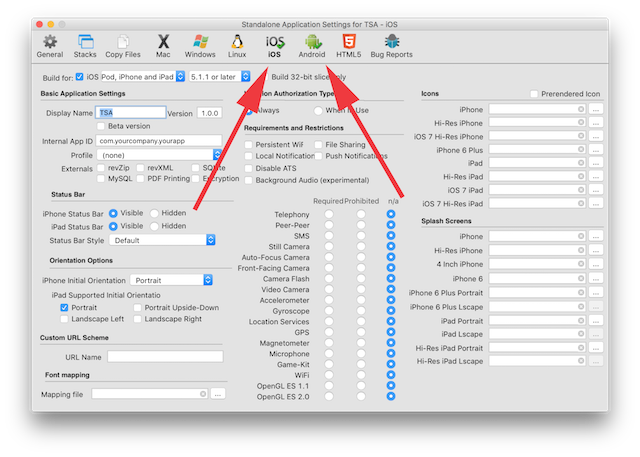
With these checked, I then make sure to include the SVG path widget via the Copy File section of the standalone application settings: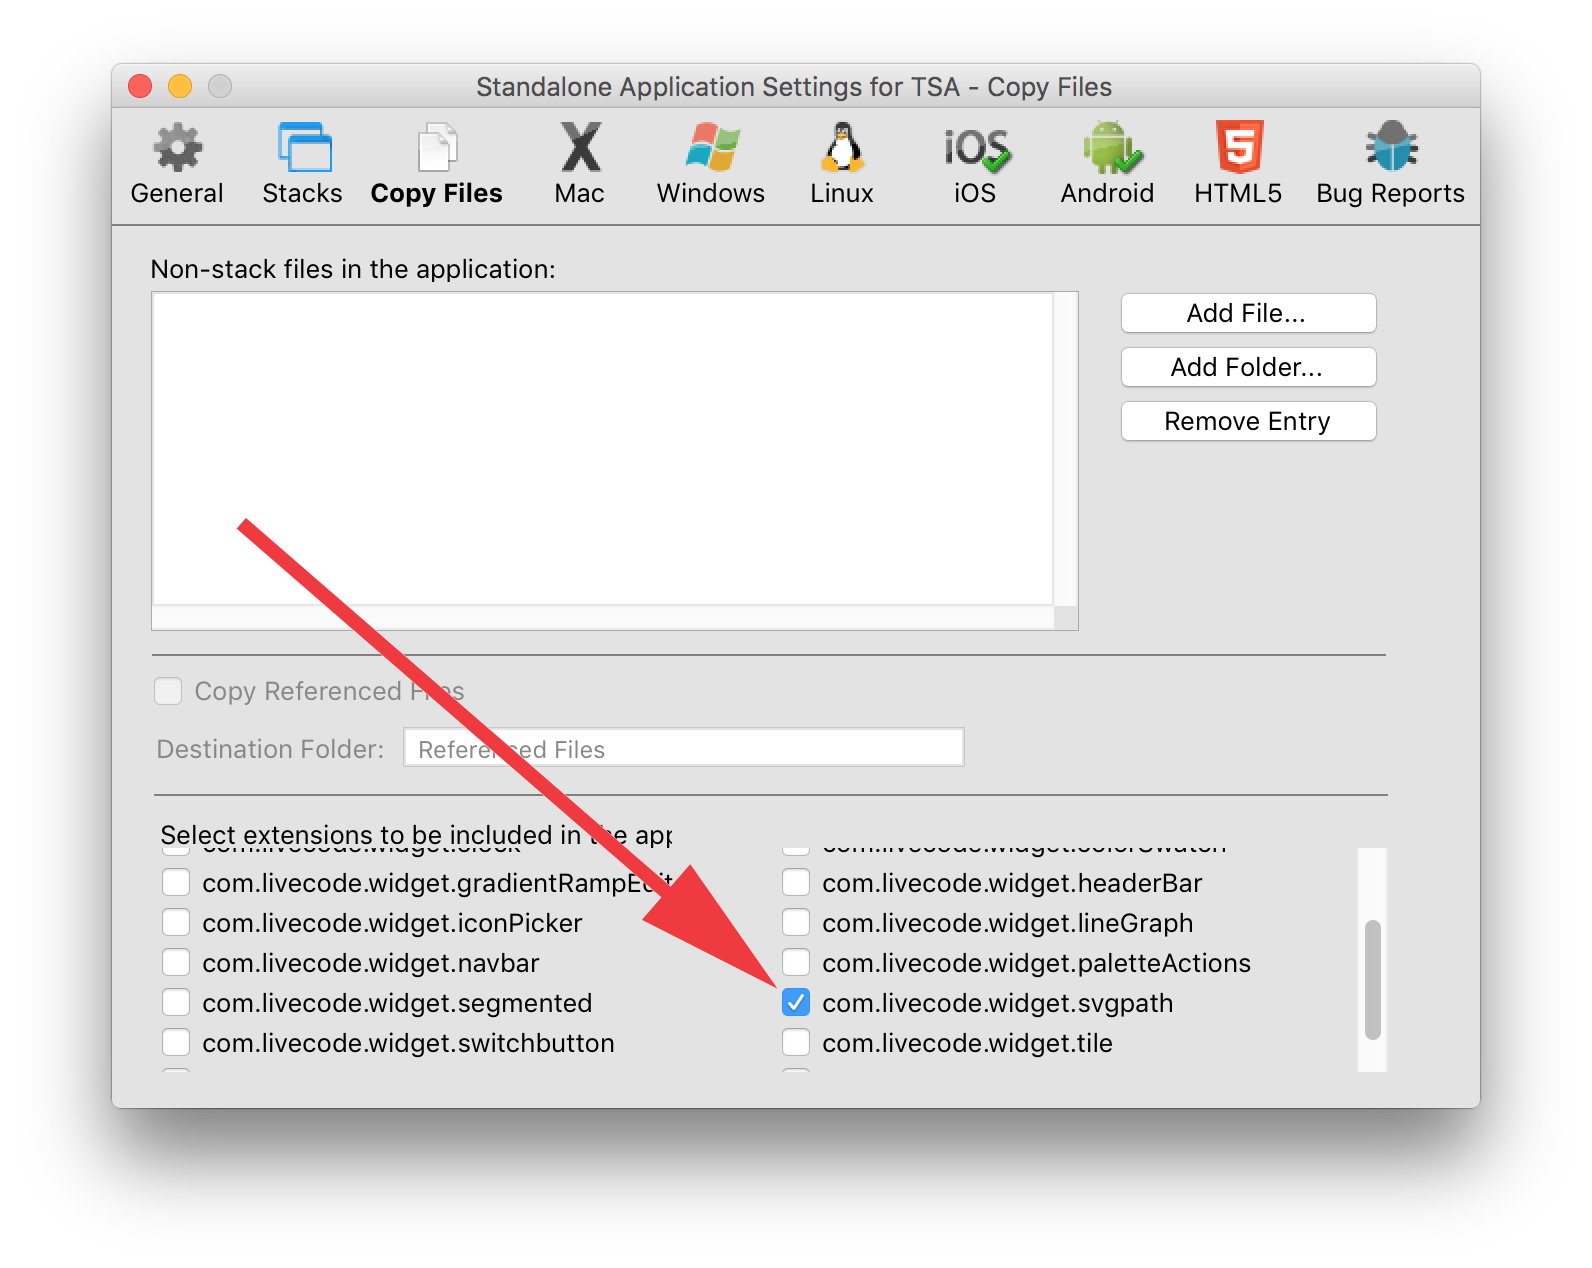
And with these set and LiveCode mobile preference set up, we can now deploy the stack to any available mobile simulator/emulators or build mobile standalones to transfer directly on physical devices.
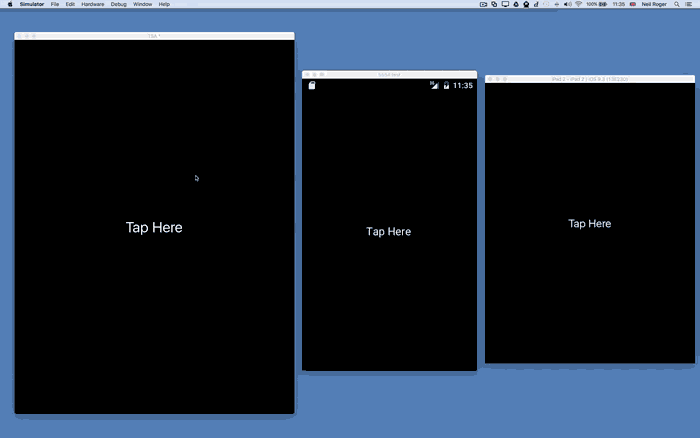
The next screen shows the app running on the desktop, Android Emulator and iOS simulator
So there we have it… a fully functioning stack that replicates the TSA app built in under 5 minutes with 17 lines of code. It took me a lot longer to write this article than to write the app.
That would have been the quickest $47,400 ever made by an individual from LiveCode at a rate of nearly $10000 per minute!
Not only have I managed to rapidly re-create the TSA app, it’s also deployable to multiple platforms which again would save on development costs. Generally speaking this would be $47400 per platform – WOW!!
So, folks at the TSA, if you are reading this, consider what app development companies you get involved with and check that the cost they are proposing are not so over inflated figures. A combination of a LiveCode Business license and our professional LiveCode services offering could have had such a simple app in your hand in next to no time and cost a heck of a lot less as well. If you need any more info, please do not hesitate to get in touch.
How would you go about tackling this app? How do you feel about the fee paid? Let me know in the comments below.
4 comments
Join the conversationPaul Dupuis - April 11, 2016
Undoubtedly, the IBM developer who eventually built the app, probably did it in a reasonable time for whatever language they used and got paid an average rate by IBM. The absurd cost was in the billable rates for the army of consultants (and their expenses) in endless meetings and workshops with TSA people around the business problem of how to even out security queues. That was were the monumental waste was. Well, and yes, had they used LiveCode the app could have been built in much less time too!
Mikey - April 11, 2016
BAAAAAAAAAHAHAHAHAHAHAHAHA! Awesome, Neil. You know this exercise is going to become the “Hello World” or “lorem ipsum” app that becomes part of mobile programming classes, so great job showing how trivial it is in LC.
Now, shall we have a little contest to see who can do it faster/simpler/steampunkier in LC?
Mark Wieder - April 12, 2016
Neil- great walkthrough – thanks.
Er… you might want to fix the “luxury home” link, but otherwise that’s a great example of how to use the svg widget.
Neil Roger - April 12, 2016
Hi Mark,
Nice spot 🙂 Should be fixed now.
Cheers,
Neil